Bringing Stripes To Life - Your Tiger Drawing Guide
Have you ever felt that little tug, that desire to create something wonderful with your own hands, perhaps a picture of a magnificent creature with striking stripes? So, it turns out, many people feel that way about putting a tiger onto paper. There is a certain kind of joy that comes from making something beautiful appear right before your eyes, especially when it is a creature as grand as a tiger. You might think it looks a bit tricky to get started, but honestly, it can be a really fun and rewarding experience for anyone who wants to try.
Whether you are someone just starting out with art, or maybe you have picked up a pencil before but never really tried to capture a wild animal, this guide is for you. We will go through the process of making a tiger picture, step by step, making sure each part is clear. You will discover that bringing one of these creatures to life on your paper does not have to be a big challenge. In fact, it can be quite straightforward when you have someone showing you the way, just a little at a time.
This information aims to help you get comfortable with the whole process. We will look at how to make a tiger picture that feels easy to do, whether you are aiming for a sweet, cartoon-like version or something that looks more like a real animal. It is all about giving you the pointers you need to get started and keep going. You will find that making your own tiger picture is something you can definitely do, and it is a pretty cool way to spend some time, too it's almost like magic.
Table of Contents
- Getting Started with Your Tiger Drawing Adventure
- What Supplies Do You Need for Your Tiger Drawing?
- Building the Core Shape - The First Steps in Tiger Drawing
- How Do You Start a Basic Tiger Drawing?
- Adding the Finer Points to Your Tiger Drawing
- Can Kids Really Make a Good Tiger Drawing?
- Bringing a Tiger Drawing to Life - Movement and Realism
- Where Can You Find More Help with Your Tiger Drawing?
Getting Started with Your Tiger Drawing Adventure
Starting any new creative pursuit can feel a little bit like standing at the edge of a big, open field, wondering which way to go. When it comes to making a picture of a tiger, you might wonder where to even put your first mark. But honestly, it is not as hard as it might seem. This whole process is set up to help you learn how to make a tiger picture in a way that feels simple and fun, rather than confusing. We will walk through each bit together, so you can just follow along at your own speed, which is pretty good.
Many people find that the idea of drawing a wild animal seems a bit much, but the truth is, anyone can learn to do it. This information is here to show you how to bring out the artistic side of yourself, even if you do not think you have one. If you have ever had a wish to put a truly striking tiger on paper, this is the guidance for you. We will talk about every single step in a lot of detail, from the very first marks you make, right up to the finishing touches. You will find that, in some respects, it is just like following a recipe.
The goal here is to make sure you feel supported as you create your own tiger picture. It is about helping you see that making art is something that is accessible to everyone, not just those who have been doing it for years. So, get ready to pick up your drawing tools and some paper. It is time to get started on something quite enjoyable. You will see, it is actually pretty straightforward once you get going.
What Supplies Do You Need for Your Tiger Drawing?
Before you begin putting lines on paper, it helps to have your tools ready. For your tiger picture, you will want some basic drawing items. This usually means a pencil, something to erase with, and some paper. You do not need anything very fancy to get started; just the simple things will do the trick. You might also want a ruler if you like to keep things extra neat, but it is not really needed for this kind of creative work, you know.
Having your items close by makes the whole experience much smoother. You will not have to stop in the middle of your creative flow to go looking for something. This way, you can keep your focus on the picture you are making. It is like getting your ingredients ready before you start cooking; everything is there when you need it. So, just gather your pencils and paper, and you will be in a good spot to begin your tiger picture. That is all you really need, honestly.
For those who prefer to learn in a more visual way, there are many online video resources that show you how to make a tiger picture. These can be really helpful because you can watch someone else make the marks and then try to copy them yourself. Sometimes, seeing someone else do it just makes it click in your head. It is a good way to get a feel for how the pencil moves and how the shapes come together. You can often pause and play back parts as many times as you need to, which is pretty convenient, too it's almost like having a teacher right there with you.
Building the Core Shape - The First Steps in Tiger Drawing
When you start to make a picture of a tiger, getting the main shapes down first is a really smart move. This is like building the framework of a house before you put in the windows or the roof. For your tiger picture, you begin by making a large round shape for the head. This round shape does not have to be perfect; it is just a guide. It gives you a place to start building the rest of the animal's features. This first step is, in some respects, the most important one.
Once you have that first big round shape for the head, you will then put another, smaller round shape inside it. This smaller round shape will become the part where the nose and mouth go, what some call the snout. This helps to give the tiger's face its correct form and proportions. It is about laying down the basic structure before you add any of the finer points. You will find that this method makes the whole process much less confusing, actually.
These initial round shapes are just starting points, so do not worry about them being perfectly neat. They are meant to be light lines that you can adjust or even erase later as you add more parts to your tiger picture. Think of them as your rough sketch, the very first outline that guides your hand. It is a pretty common way to begin many kinds of drawings, and it works very well for animals like tigers. So, just get those basic shapes down, and you will be off to a good start, you know.
How Do You Start a Basic Tiger Drawing?
So, to begin a simple tiger picture, you first put down that large round shape for the head, as we discussed. Then, you place the smaller round shape inside for the nose area. This is the very foundation. From there, you will begin to connect these shapes and add other simple forms to build the rest of the tiger's body. It is all about breaking down a complex animal into simpler parts that are easy to manage. This way, you do not feel overwhelmed by the whole thing, which is good.
For example, if you are making a tiger picture that is walking, you might then think about adding a long, somewhat curved shape for the body, connecting it to the head. Then, you would consider where the legs would go, perhaps using simple stick-like lines to mark their positions. This initial stage is all about getting the overall pose and size right before you add any of the detailed bits. It is, basically, like creating a stick figure version of your tiger.
This method of starting with basic shapes is helpful for anyone, especially those who are just learning. It provides a clear path forward and helps you to avoid getting lost in the details too soon. You are building your tiger picture from the ground up, one simple form at a time. It is a very effective way to approach any drawing project, and it truly helps in making the process feel much more approachable. You will find it makes a big difference, honestly.
Adding the Finer Points to Your Tiger Drawing
Once you have the main shapes of your tiger picture laid out, that is when you start to bring it to life with more specific features. This is where you begin to think about the fur, the unique patterns of the stripes, and the other small elements that make a tiger look like a tiger. It is a bit like putting the finishing touches on a sculpture; you are refining the rough form into something more defined. You will find that this part is where your tiger picture really starts to show its personality, too it's almost magical.
The "My text" talks about adding details like fur and stripes. To do this, you will begin to soften the lines of your initial shapes, making them flow more naturally. For the fur, you might use short, quick pencil marks that follow the direction the fur would grow on a real tiger. For the stripes, you will want to think about how they wrap around the tiger's body, making them follow the curves of its form. This helps your tiger picture look more three-dimensional, you know.
This stage also involves thinking about the tiger's bones and muscles, even if you do not draw them directly. Knowing where these are helps you understand how the tiger's body moves and how its skin would lay over its frame. This kind of thought helps you make your tiger picture look more believable and lifelike. It is about putting in those smaller elements that truly make the animal stand out on your paper. It is, in some respects, where the real artistry begins to show.
Can Kids Really Make a Good Tiger Drawing?
Absolutely! The process of making a tiger picture is something that young people can definitely enjoy and do well. There are guides specifically created to help children make their own tiger pictures, often breaking the process down into just a few very easy steps. These guides focus on making the experience fun and accessible, so children feel good about what they are creating. It is all about building confidence in their artistic abilities, which is pretty important.
For instance, some lessons show how to make a tiger picture in as few as six easy steps. This simplified approach means children can follow along without feeling overwhelmed. They can learn to make their own tiger on paper and feel a real sense of accomplishment. These types of lessons often include pictures or downloadable versions of the tiger picture steps, so kids can look at them whenever they need a reminder. It is a really good way to get them interested in art, you know.
The goal for young artists is to have a good time and feel proud of what they have made. It is not about making a perfect, realistic tiger picture right away, but about the joy of creating. These simpler methods help children get comfortable with holding a pencil and making shapes. So, yes, young people can certainly make a good tiger picture, and they often surprise themselves with how well they do. It is, in fact, a very rewarding activity for them.
Bringing a Tiger Drawing to Life - Movement and Realism
Once you have the basic shape and some of the finer details, you might want to think about how to make your tiger picture look like it is moving or truly alive. The "My text" mentions sketching a tiger walking through a forest, which adds a whole new layer to your artwork. This means considering the tiger's pose, how its legs would be positioned as it takes a step, and how its body would twist and turn. It is about giving your tiger picture a sense of action and presence, which is pretty cool.
To capture a tiger walking, you would pay attention to the flow of its body. Its spine might have a gentle curve, and its legs would be in different stages of motion. One front leg might be reaching forward, while the opposite back leg is also moving forward, ready to push off. This kind of observation helps your tiger picture feel dynamic and less like a static image. It is about understanding the natural way these animals carry themselves, you know.
Even if you are not putting your tiger picture in a forest setting, thinking about movement can make a big difference. A slight tilt of the head, a subtle curve in the tail, or the way the paws rest on the ground can all suggest life and personality. These are the kinds of small touches that elevate a simple sketch into something more captivating. It is, in some respects, like telling a story with your pencil.
Where Can You Find More Help with Your Tiger Drawing?
If you are looking for more assistance with your tiger picture, there are plenty of places to turn. The "My text" mentions online video lessons specifically for making a tiger picture. These video tutorials are a wonderful resource, especially for those who learn best by watching someone else demonstrate the steps. You can see the pencil moving, the pressure applied, and the shapes forming in real time. This makes it much easier to follow along, you know.
Many of these online resources are designed to be very easy to follow, even for those who are just starting out. They often break down the process into small, manageable chunks, so you never feel overwhelmed. You can find videos that show you how to make a tiger picture step by step, covering everything from the first outlines to adding the fur and stripes. It is a very accessible way to gain confidence and improve your skills, which is good.
Whether you are looking for a quick lesson on making a simple cartoon tiger picture or a more detailed guide on creating a realistic one, the internet offers a wealth of material. Just search for "easy tiger drawing online video tutorial," and you will find many options. These resources are often free and available whenever you want to learn. So, if you ever feel stuck or just want to try a different approach, help is just a few clicks away, basically.
This guide has walked you through the delightful process of creating a tiger picture, from gathering your basic tools to putting down the initial shapes of the head and snout. We looked at how to build the core structure of your tiger, whether you are aiming for a simple cartoon or a more detailed representation that considers muscles and fur. We also discussed how to add those finer points like stripes and how to give your tiger picture a sense of movement. Finally, we touched on the many resources available online, especially video lessons, to help you continue making your tiger pictures. It is all about taking it one step at a time, making it easy and fun for everyone who wants to give it a go.
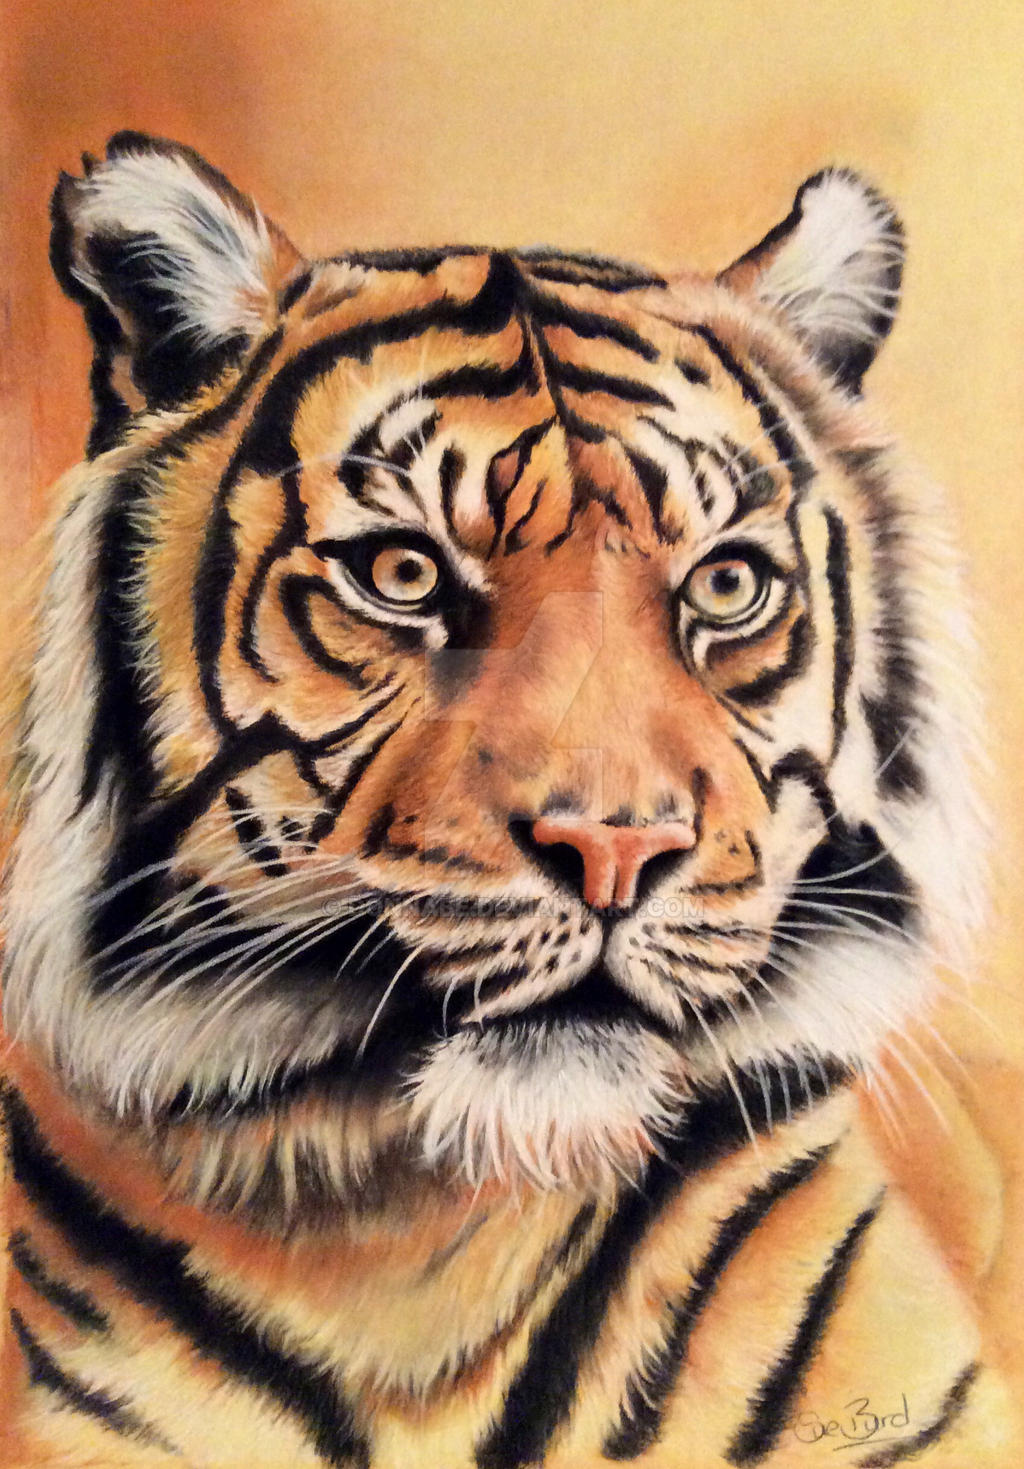
Tiger drawing by donnabe on DeviantArt
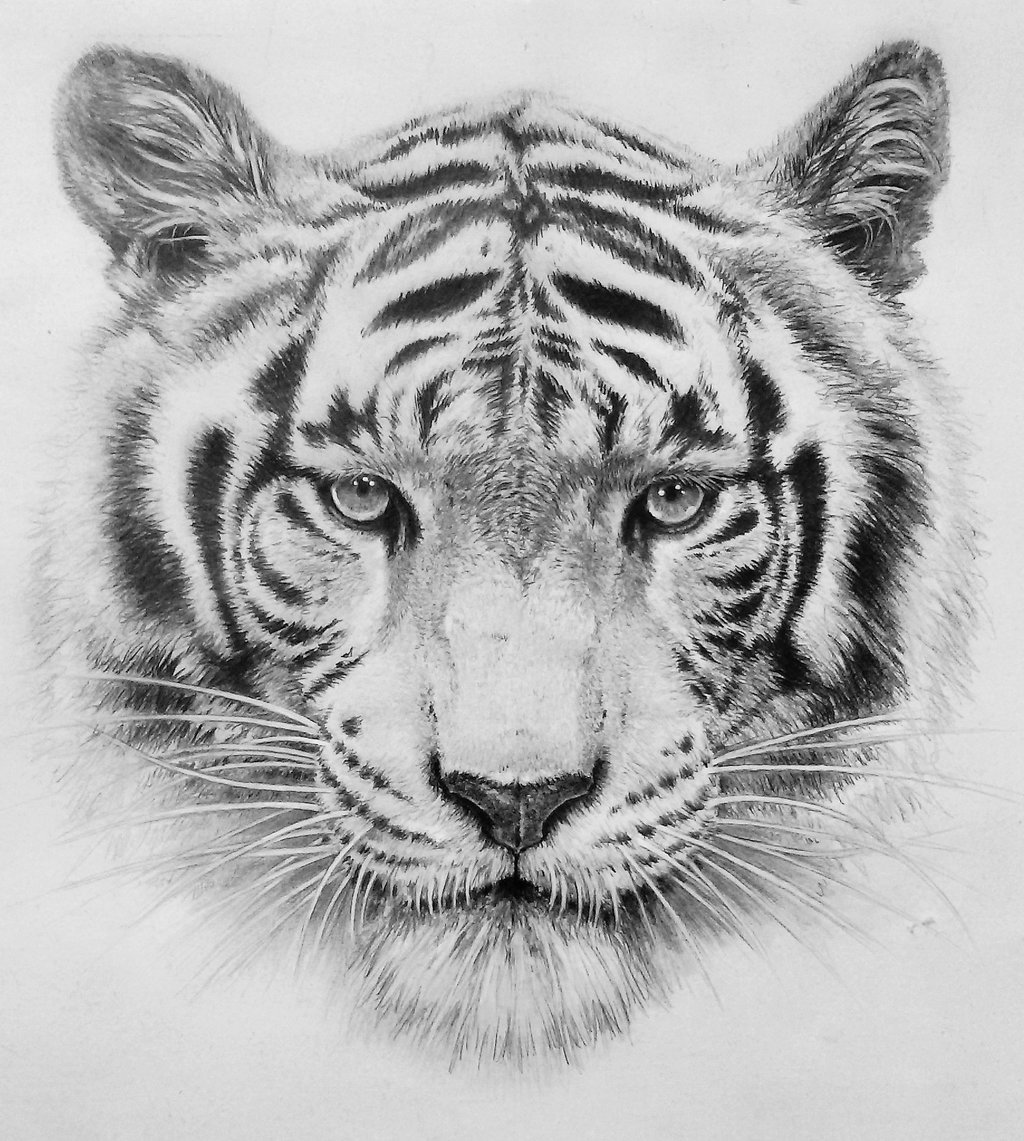
Pencil Drawings Of Tigers Tiger Pencil Drawing Graphite Pencil Images
Tiger Pencil Drawing Images at PaintingValley.com | Explore collection
