How To Remove Texture From Walls - A Smooth Home Guide
Do you ever look at your walls and wish they had a different feel, perhaps something a little more even and unadorned? It's a common thought, you know, when faced with surfaces that have a raised pattern or a bumpy finish. Getting rid of that surface variation, making things flat and unblemished, can sometimes seem like a big job, creating quite a bit of scattered debris and requiring a good amount of sustained effort. But don't worry, there are definitely practical approaches you can take to make your wall surfaces much more pleasing to the eye, giving your living space a truly fresh and polished appearance.
When you are considering making a change to your interior surfaces, getting rid of a textured appearance can truly give your home a whole new vibe, offering a clean background for whatever decorative touches you want to bring in. It's like wiping the slate clean, so to speak, allowing for a much more contemporary and simple look. Many people find that a smooth wall surface makes a room feel bigger and brighter, too, which is a nice bonus. There are, actually, a few different paths you might consider when thinking about how to remove texture from walls, and we'll go through some of the most helpful ones here.
The good news is that you don't necessarily need to bring in outside help to achieve this transformation. With a bit of patience and the right approach, you can take on this project yourself. We'll talk about a couple of the most popular and effective ways people choose to get their wall surfaces looking smooth once again. These methods involve either taking off the existing raised surface or covering it over, and each has its own set of steps. So, if you're ready to give your home a sleek new character, stick around, as a matter of fact, because we're about to explore the practical steps involved.
Table of Contents
- Why Think About How to Remove Texture From Walls?
- What Are the Main Ways to How to Remove Texture From Walls?
- Method One- The Soak and Scrape Technique for How to Remove Texture From Walls
- How Do You Prepare for Removing Texture From Walls?
- Method Two- The Skim Coat Approach for How to Remove Texture From Walls
- Which Way Is Best for How to Remove Texture From Walls?
- Other Options for How to Remove Texture From Walls
- Bringing It All Together for How to Remove Texture From Walls
Why Think About How to Remove Texture From Walls?
Many homes, especially older ones, feature walls with various kinds of surface patterns, from what some call "orange peel" to the more well-known "popcorn" style on ceilings. While these textures were popular at one time, they can sometimes make a room feel a bit dated or, well, not as open as you might like. When you decide to smooth out these surfaces, it's almost like you are preparing a clean canvas for your decorating ideas. This simple change can make your entire living area appear much more refined and streamlined, giving it a much more current and polished feel. It's a way to update your home's appearance without a full remodel, really.
The visual impact of a smooth wall surface is quite noticeable. It reflects light differently, which can make a space feel brighter and more spacious. Plus, it provides a very versatile backdrop for any kind of paint color or wall covering you might choose later. You know, sometimes those textures can also collect dust or be a little harder to keep clean. A smooth surface, on the other hand, is usually a breeze to wipe down, which is definitely a practical benefit for everyday living. So, beyond just the looks, there are some real-world advantages to considering how to remove texture from walls.
What Are the Main Ways to How to Remove Texture From Walls?
When it comes to getting rid of that bumpy surface, most homeowners find themselves with a few different approaches they can consider. However, two methods stand out as being the most popular and, arguably, the most straightforward for a do-it-yourself project. These involve either taking the existing texture off the wall or putting a new, smooth layer over the top of it. Both ways can lead to a beautifully flat surface, but they each have their own steps and considerations. It's like choosing between taking something away or simply covering it up, depending on what works best for your situation.
The two main ways people go about smoothing out the appearance of their walls are what we call the "soak and scrape" method and the "skim coat" application. Each of these has its own set of advantages, and the one you pick might depend on what kind of texture you have and whether your walls have been painted already. For instance, if your walls haven't been painted over the texture, scraping might be a good option. If they have paint on them, covering it up with a skim coat could be the way to go. So, there are some practical things to think about when you consider how to remove texture from walls effectively.
Method One- The Soak and Scrape Technique for How to Remove Texture From Walls
This method is often chosen for unpainted textured walls, as paint can make the texture much harder to soften and remove. It involves getting the textured material wet so it becomes pliable and then carefully scraping it away. It sounds simple enough, and in many ways, it is, but it does require a bit of patience and a good amount of physical effort. You're basically softening the material that creates the bumps so it can be lifted off the surface. This technique is, you know, a very direct way to get back to the original flat wall underneath.
To begin this process, you'll want to get a spray bottle, or maybe even a garden sprayer for larger areas, and fill it with water. Then, you start by spraying a relatively small section of the wall. The idea is to get the water to really soak into the textured material. You don't want to overdo it and make the wall soggy, but you do want it to be thoroughly damp. Let that water sit there for a few minutes, giving it time to work its way into the texture and loosen it up. This waiting period is pretty important, as it helps make the scraping part much easier later on. You are, basically, allowing the moisture to do some of the hard work for you, which is nice.
Once the texture has had a chance to absorb the water and soften, you're ready for the next step. You'll need a tool for scraping, like a wide floor scraper or a drywall taping knife. Hold your chosen tool at a shallow angle against the wall, and then, with steady pressure, start to push it along the surface. You should see the softened texture begin to come away. It's a bit like peeling off old wallpaper, but perhaps with a bit more effort. You work in small sections, always making sure the texture is wet enough to come off without too much struggle. If it feels too hard to remove, just apply a little more water and give it another moment to soak. This process can be, well, a bit messy, so it's a good idea to put down drop cloths to catch all the removed material.
How Do You Prepare for Removing Texture From Walls?
Before you even think about picking up a scraper or a bucket of compound, there are some important steps to take to get your room ready for the job. This preparation phase is, honestly, pretty critical for making the whole process smoother and less of a headache later on. You want to protect your floors and any furniture that can't be moved out of the room. This is where those drop cloths come in really handy. Lay them down generously, covering all the floor space and anything else you want to keep clean. Think of it as creating a protective barrier against dust and debris, which there will be a lot of, actually.
You should also consider removing any wall decorations, light switch covers, outlet plates, and even light fixtures from the wall. It just makes the surface much easier to work on without interruptions. If you can, turn off the power to the room at your circuit breaker box before removing any electrical covers, which is a very good safety practice. You know, you don't want to accidentally scrape against live wires. It's also a good idea to have a bucket or a large trash can nearby to collect all the texture you scrape off. This helps keep things a bit more organized as you go. Basically, getting everything out of the way and protected sets you up for a much more efficient and less stressful experience when you are thinking about how to remove texture from walls.
Method Two- The Skim Coat Approach for How to Remove Texture From Walls
If your walls are already painted, or if the texture is particularly stubborn, applying a skim coat is often considered the cleanest and most effective way to get a smooth surface. This method involves putting a thin layer of drywall compound directly over the existing texture. It's like building a new, flat surface right on top of the old bumpy one. This approach is, in some respects, less about physical removal and more about creating a new, unblemished layer. It's a great option for achieving a really polished finish without all the scraping and potential mess of the other method, though it does involve different kinds of mess, obviously.
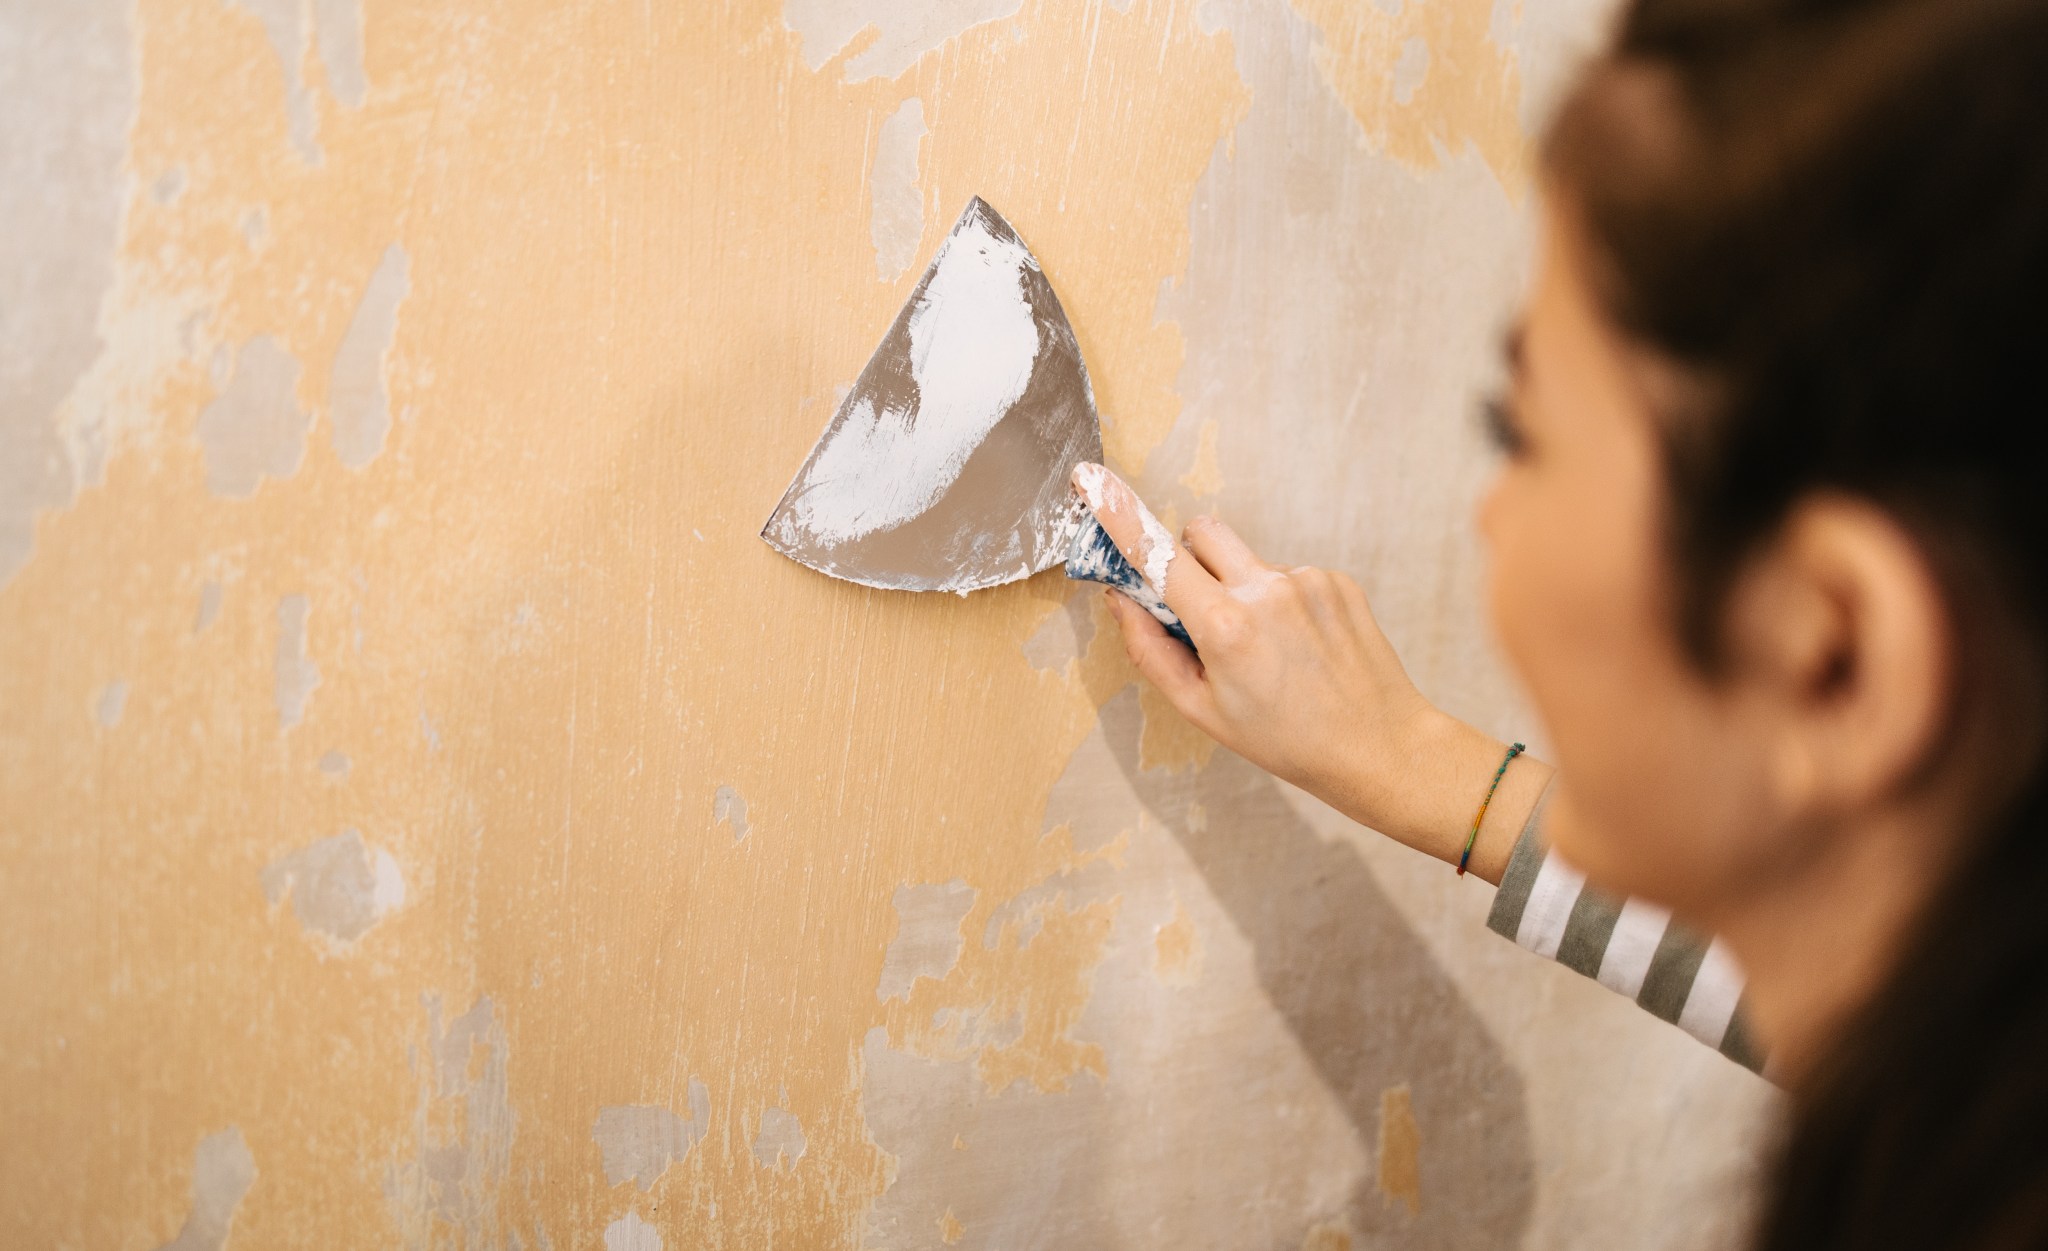
To do a skim coat, you'll need a good amount of drywall compound, often called joint compound, and some tools like a drywall knife or a trowel. You start by applying a very thin layer of the compound over the textured wall. The goal here is to fill in all the low spots and cover the high points of the texture, making the surface as flat as possible. You spread the compound evenly, working in sections, and try to make each pass as smooth as you can. It's a bit of an art form, honestly, getting that compound just right. You want it thin enough to spread easily but thick enough to cover the texture.
Once the first layer of compound dries completely, which can take several hours depending on humidity and thickness, you'll likely need to apply a second, or even a third, thin layer. This is where you really build up that smooth surface. Each subsequent layer helps to refine the flatness and eliminate any remaining bumps or imperfections. After each layer dries, you'll probably need to do a light sanding to smooth out any ridges or high spots from your application. This sanding creates a very fine dust, so wearing a mask and having good ventilation is a very good idea. You are, basically, building up a new surface, layer by layer, until it's perfectly flat and ready for paint. It takes time, but the result is a truly smooth wall.
Which Way Is Best for How to Remove Texture From Walls?
Deciding which method is the right one for your home often depends on a few key factors. There isn't a single "best" way that works for every situation, as a matter of fact, because different wall textures and existing conditions call for different approaches. The condition of your current walls plays a big role in this choice. For instance, if your walls have never been painted over the texture, the soak and scrape method might be a very viable option, as the texture material is more likely to soften properly with water. However, if multiple layers of paint have been applied over the texture, that paint can act as a barrier, making it very difficult for water to penetrate and soften the texture underneath. In such cases, trying to scrape might just be an exercise in frustration.
The type of texture you're dealing with also influences the choice. Some textures, like a light "orange peel," might be relatively easy to scrape off once wet. Others, such as very thick or hard "popcorn" textures, might be incredibly stubborn and resistant to removal, even with soaking. For these tougher textures, or for walls that have been painted, applying a skim coat often becomes the more practical and less labor-intensive choice in the long run. It's like, you know, sometimes it's easier to build over something than to try and take it all away piece by piece. The extent of the texture, meaning how pronounced or deep it is, also matters. A very subtle texture might be easily covered, while a very dramatic one might require more layers of skim coat or more aggressive scraping. So, really, the best way to approach how to remove texture from walls is to consider these aspects of your specific situation.
Other Options for How to Remove Texture From Walls
While soaking and scraping or applying a skim coat are the two most popular and often recommended ways to get rid of wall texture, it's worth knowing that there are a couple of other possibilities out there, too. These methods might be considered in certain situations, though they come with their own set of challenges. One approach people sometimes think about is sanding the texture down. This involves using a sanding tool to physically grind away the raised parts of the texture until the wall surface becomes smooth. However, this can be an incredibly dusty process, creating a huge amount of fine particles that get everywhere, which is something to really think about.
Another option involves using specialized wall texture removal products. These are typically chemical solutions that you apply to the textured surface, and they are designed to break down or soften the texture, making it easier to remove. While they might seem like a quick fix, these products can sometimes be quite strong, requiring careful handling and good ventilation. They also might not work equally well on all types of textures or painted surfaces. So, while these options exist, many homeowners find that the soak and scrape or skim coat methods offer a more straightforward and predictable path to a smooth wall, especially when considering how to remove texture from walls as a do-it-yourself project. It's really about weighing the effort and potential mess against the results you want to achieve.
Bringing It All Together for How to Remove Texture From Walls
So, we've talked about a couple of the main ways to get those walls looking flat and sleek. Whether you choose to soak and scrape away the old surface, which works best for unpainted textures, or decide to apply a skim coat to cover everything up, which is a good choice for painted walls or tougher textures, you're on your way to a much smoother home. Both methods require a bit of dedication and some elbow grease, as they say, but the outcome of having a clean, unblemished wall surface is often well worth the effort. It truly can make a room feel completely different, more open and modern.
Remember that getting your space ready before you start, by protecting floors and removing wall fixtures, is a very important first step for either method. This preparation saves you a lot of cleanup time later. The goal is to create a fresh canvas for your desired look, making your home feel more current and refined. The choice between scraping and skim coating really comes down to what kind of texture you have and whether it's been painted over. With a bit of planning and the right tools, you can absolutely achieve a smooth wall surface that you'll be proud of, transforming your living space in a noticeable way. It's a project that can really change the whole feel of a room, honestly.

Best Way To Remove Wall Texture at Jennifer Corinne blog
How to Remove Texture From Walls: Scraping vs. Coating

Best Way To Remove Textured Paint From Ceiling | Shelly Lighting
