How To Remove Popcorn Ceiling - A Home Guide
That bumpy, textured ceiling, often called popcorn or acoustic, is quite a common sight in older homes, isn't it? It has a very distinct, rather lumpy appearance, almost like cottage cheese, which was quite popular many years ago. Nowadays, though, it tends to be a bit of a dust collector, catching all sorts of little bits and pieces, and it can also become a favorite spot for cobwebs to settle, making your home feel a little less fresh and bright.
Getting rid of that dated look can truly give your living space a much more current and smooth feel, making rooms seem bigger and brighter, in a way. It's a way to bring your ceiling into the modern age, creating a clean surface that reflects light better and generally makes your home feel quite open. This change can make a big difference to how a room looks and feels, actually.
The thought of taking on such a project might seem like a lot of work, and yes, it can take some time to get it just right, but it is certainly something you can do yourself. With the right tools and a little bit of preparation, smoothing out that ceiling is quite straightforward. We're going to show you how to update a textured ceiling, including all the steps to make it happen, so you can enjoy a fresh, smooth look above your head.
Table of Contents
- What is a Popcorn Ceiling, Anyway?
- Why Consider Removing Your Popcorn Ceiling?
- Is Your Popcorn Ceiling Safe to Remove?
- Getting Ready for how to remove popcorn ceiling
- Gathering Your Gear for how to remove popcorn ceiling
- The Steps to how to remove popcorn ceiling
- What About Covering how to remove popcorn ceiling Instead?
- Keeping Things Clean After how to remove popcorn ceiling
What is a Popcorn Ceiling, Anyway?
You know, that ceiling texture that looks a bit like little bits of popped corn stuck all over it? That's what people generally call a popcorn ceiling. It also goes by other names, like cottage cheese ceiling, because of its lumpy appearance, or sometimes acoustic ceiling, which points to its original purpose. Back when these were popular, they were put in to help with sound, making rooms a little quieter by soaking up echoes. So, in some respects, they had a practical side, but times change, and so do styles.
These ceilings became quite common in homes built from the 1950s through the 1980s, really. They were a quick and simple way to finish a ceiling, especially since they could hide small imperfections on the drywall underneath. It was a pretty simple solution for builders at the time. You can typically spot them just by looking up; their bumpy, uneven surface is pretty unmistakable. If your home dates from that period, you probably have one, or you've certainly seen one before, that's for sure.
The way they were made involved spraying a material that had small bits in it, often vermiculite or polystyrene, onto the ceiling surface. This created that signature bumpy finish. Over time, though, these textures tend to gather dust and can even start to look a bit yellowed, which makes a room feel a little less inviting. Plus, the acoustic benefits aren't usually what people are looking for in their homes these days, so the practical reason for them has sort of faded away.
Identifying them is usually pretty simple, as I was saying. Just glance up, and if you see that rough, bumpy, often off-white or yellowish surface, you've found a popcorn ceiling. They really do stand out compared to a smooth, flat ceiling. So, if you're wondering if you have one, just take a good look up, and you'll probably know right away.
Why Consider Removing Your Popcorn Ceiling?
Well, for many folks, the main reason to get rid of a popcorn ceiling is simply how it looks. That textured surface, which was once quite fashionable, now often makes a room feel a bit old-fashioned and, honestly, a little dark. A smooth ceiling, by contrast, can make a space feel much more open, airy, and truly up-to-date. It's amazing what a difference a clean, flat surface can make to the whole feel of a room, isn't it?
Beyond just the way it appears, there's the practical side of things. As we mentioned, these ceilings are like a magnet for dust and cobwebs. All those little bumps and crevices are just perfect spots for tiny particles to settle and for spiders to spin their webs. This can make keeping your home truly clean a bit of a chore, as those textures are quite difficult to wipe down properly. A smooth ceiling, on the other hand, is so much easier to clean and keep looking fresh, which is pretty nice.
Then there's the light factor. A smooth ceiling tends to reflect light much better throughout a room. The bumpy texture of a popcorn ceiling can actually absorb some of the light, making the room feel a little dimmer than it actually is. By removing it, you can brighten up your space without even needing to add more lights, which is a pretty cool benefit. It can really make a room feel more inviting and cheerful, frankly.
Also, a flat, even ceiling just gives a room a more polished and finished look. It's a sign of a modern home, and it can actually add to the perceived value of your property. People generally prefer the clean lines of a smooth ceiling these days. So, while it might take some effort, the result is a home that feels more contemporary and well-cared-for, which is something many homeowners really appreciate, as a matter of fact.
Is Your Popcorn Ceiling Safe to Remove?
Before you even think about starting to scrape away at that ceiling, there's a very important step you simply must take. Popcorn ceilings, especially those put in before the late 1970s or early 1980s, could contain something called asbestos. This material, while once widely used for its fire-resistant and insulating qualities, can be quite harmful if its tiny fibers get into the air and you breathe them in. So, it's absolutely crucial to know if your ceiling contains this material before you do anything else.
The only way to truly know if your ceiling has asbestos is to have it tested by a professional. You can't tell just by looking at it, and you certainly shouldn't try to remove a piece yourself to check. There are special kits you can get, or you can hire a qualified company to come to your home, take a small sample, and send it off to a lab for analysis. This step is a small investment of time and money that could save you from a lot of potential health problems down the road, you know.
If the test comes back positive, meaning your ceiling does contain asbestos, then the do-it-yourself route is probably not the way to go. Removing asbestos-containing materials needs to be done by trained professionals who have the right equipment and follow very strict safety rules to keep everyone safe. They know how to handle the material without releasing those harmful fibers into your home's air. It's a situation where calling in the experts is definitely the smartest move, honestly.
If the test shows no asbestos, then you're generally in the clear to proceed with your own removal project. But remember, that initial test is a non-negotiable part of the process. It's about protecting your health and the health of anyone else living in your home. So, before you grab any tools or start dreaming of that smooth, new ceiling, make sure you've taken care of this very first, very important safety check. It's really the first thing you should think about, you know.
Getting Ready for how to remove popcorn ceiling
Once you've confirmed your ceiling is safe to work on, the next big step is to get your room completely ready for the work ahead. This means clearing out just about everything that's in the way. Move all your furniture out of the room if you can. If some pieces are too big to move, push them to the center of the room and cover them completely. You'll want to protect absolutely everything from the dust and debris that will surely come down, so cover them well, in a way.
After the furniture is out or covered, you need to protect your floors. Lay down plenty of drop cloths, or even heavy-duty plastic sheeting, to cover the entire floor surface. You might even want to tape the edges of the cloths to the baseboards to create a seal, making sure no dust can sneak underneath. This isn't just about keeping things clean; it's also about making the cleanup process much, much easier later on. So, prepare for a bit of a mess, but make it a contained one, you know.
Don't forget the walls! While the main action is on the ceiling, bits of texture and water can splash onto your walls. You can hang plastic sheeting from the top of your walls, letting it drape down to meet the floor coverings. This creates a sort of protective tent around the room, keeping your walls nice and clean. It might seem like a lot of preparation, but it really does save you a lot of effort when it comes to the final cleaning, as a matter of fact.
One really important safety step is to turn off the power to the room. This means switching off the circuit breakers for any ceiling fans and lights. You'll be working with water and metal tools, and you don't want any risk of electrical shock. It's a simple step that keeps you safe. If you have light fixtures or ceiling fans, you might want to remove them entirely before you start, or at least cover them very well with plastic bags, tying them securely to keep any dust or moisture out. This is pretty much a must-do, too it's almost.
Also, think about ventilation. While you're working, dust and possibly some moisture will be in the air. Open windows if the weather permits, or set up a fan pointing out of a window to help draw air out of the room. This helps keep the air fresher and clears out any lingering dust particles. Proper airflow is generally a good idea for any home improvement project, so make sure you've got some air moving, you know.
Gathering Your Gear for how to remove popcorn ceiling
To make this job as smooth as possible, having the right collection of items on hand is truly helpful. You won't need a huge amount of stuff, but what you do need will make a big difference in how easily the texture comes off. First off, you'll want a spray bottle or a garden sprayer. This is for dampening the ceiling, which is a key step. The water softens the popcorn texture, making it much easier to scrape away. A garden sprayer is often better for larger areas, as it holds more water and gives a more even mist, frankly.
Next up, you'll need a good scraping tool. A wide drywall knife, perhaps one with a blade around 6 to 10 inches wide, works very well. Some people even prefer a special popcorn ceiling scraper, which often has a bag attachment to catch the falling debris, making cleanup a little less messy. You'll also want a sturdy step ladder or even some scaffolding if you're working on very high ceilings, so you can reach every spot safely and comfortably. Safety is pretty important here, you know.
For patching and smoothing, you'll want some joint compound, also known as drywall mud. This is for filling in any small holes or uneven spots after the texture is gone. A smaller drywall knife, maybe 4 inches, is good for applying the compound. You'll also need a sanding pole with fine-grit sandpaper to smooth out the patched areas once they're dry. This helps create that truly flat surface you're aiming for. Basically, you're preparing the ceiling for its new, sleek look.
Don't forget your personal protective equipment. This is absolutely essential. You'll want safety glasses or goggles to protect your eyes from falling debris and dust. A dust mask or respirator is also a must, to keep those tiny particles out of your lungs. Long sleeves and gloves will protect your skin from the water and texture bits. It's a dirty job, so dressing for it will make you much more comfortable and safe, that's for sure.
Finally, you'll need buckets for water, sponges for wiping, and plenty of trash bags for all the scraped-off material. Having a big supply of these will make the cleanup process much more efficient. You might also want a large fan to help with air circulation and to dry the ceiling faster after dampening. Having all these items ready before you start will save you trips to the store and keep your project moving along smoothly, in a way.
The Steps to how to remove popcorn ceiling
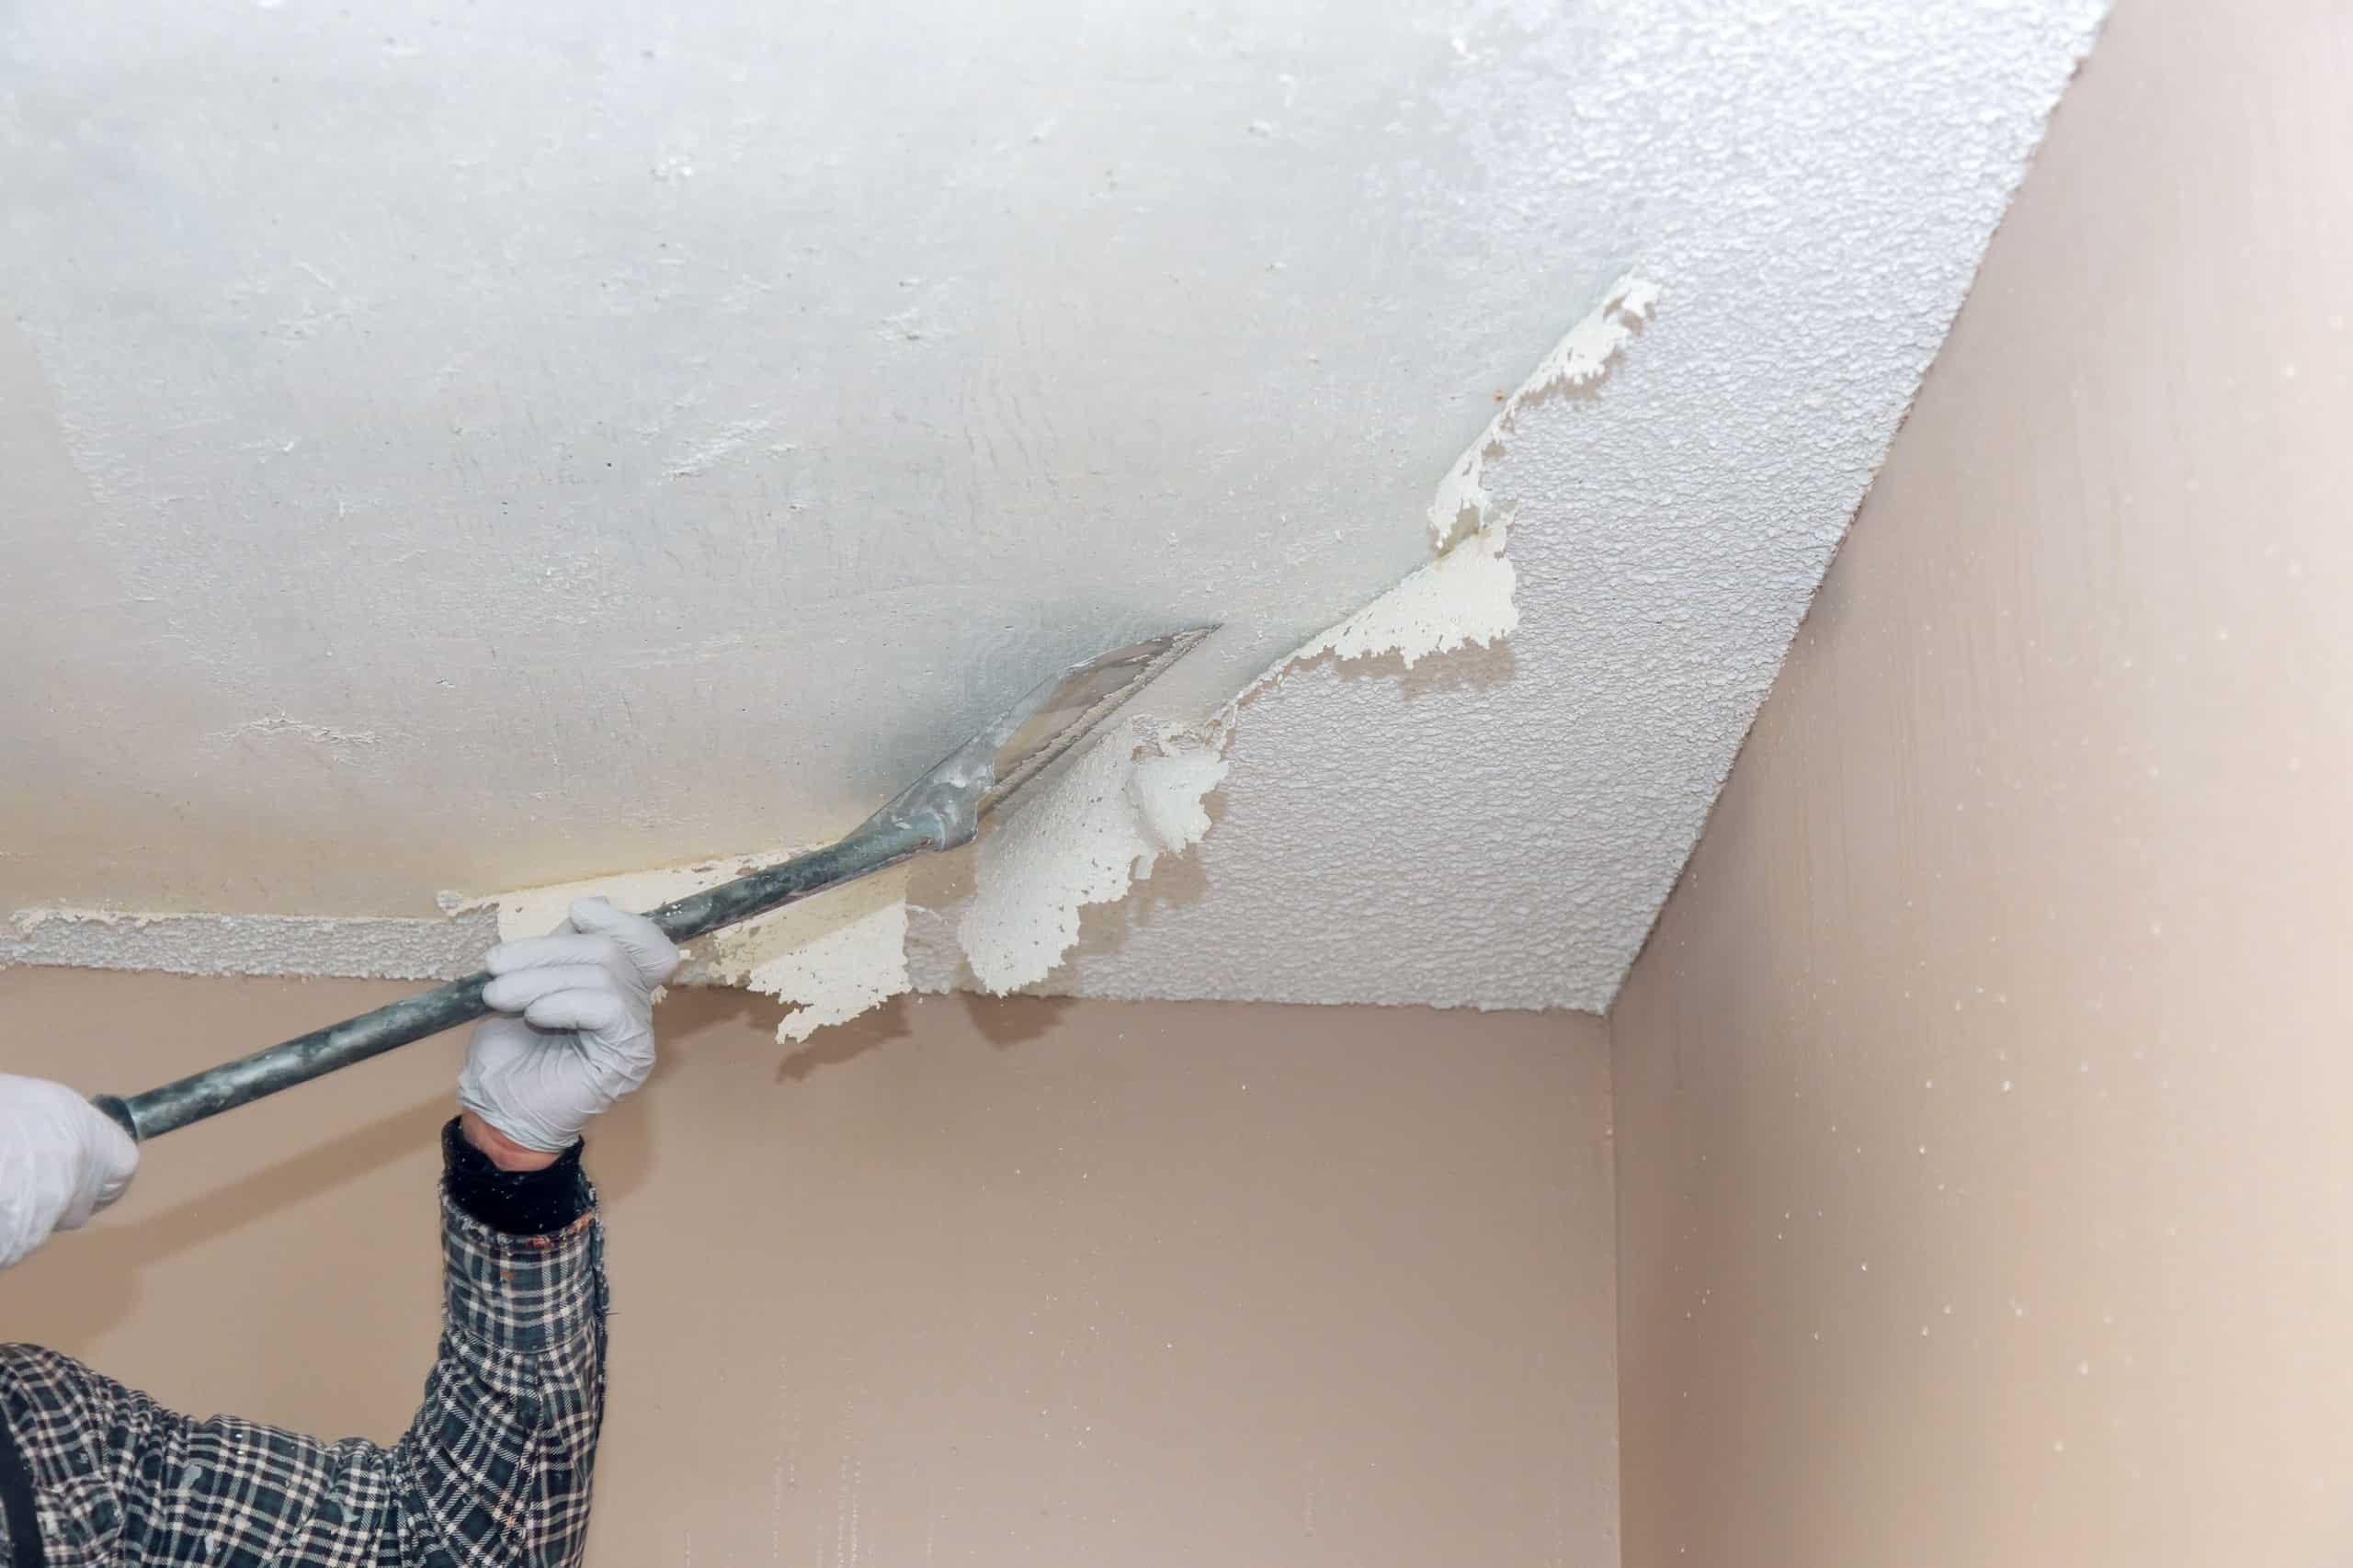
Okay, so you've done all the prep work, and you've got your tools ready. Now comes the actual work of taking down that texture. The first real step involves dampening the ceiling. You'll want to use your spray bottle or garden sprayer to lightly mist a section of the ceiling with water. Don't soak it completely, just get it damp enough so the texture starts to soften. If you spray too much, it can make a mess and even damage the drywall underneath. Work in small sections, maybe a few feet at a time, so the water doesn't dry out before you get to scrape it, you know.
Once a section is nice and damp, usually after waiting a few minutes, you can start scraping. Hold your wide drywall knife or special scraper at a slight angle to the ceiling, perhaps around 20 to 30 degrees. Apply steady, even pressure and gently push the scraper across the surface. The softened texture should come off fairly easily in strips. If it's not coming off, it might need a little more water or a bit more time to soak. Don't push too hard, as you don't want to dig into the drywall itself, that's for sure.
As you scrape, the old texture will fall down, which is why all that floor and furniture protection is so important. Try to keep your scraping strokes consistent and overlapping slightly to avoid leaving ridges. You'll likely need to empty your scraper often into a trash bag or bucket. This can be a bit repetitive, but working steadily through each dampened section will get the job done. It's a bit like peeling a very stubborn sticker, just on a much larger scale, you know.
After you've scraped off all the popcorn texture from a section, you'll probably notice some small imperfections on the bare ceiling. There might be tiny holes from the scraping, or maybe some uneven spots where the drywall sheets meet. This is where your joint compound comes in. Use a smaller drywall knife to apply a thin layer of compound over these areas, smoothing it out as best you can. The goal here is to create a perfectly flat and smooth surface, so take your time with this step, in a way.
Once the joint compound is completely dry, which can take several hours depending on how thick it is, you'll need to sand it. Attach fine-grit sandpaper to your sanding pole and gently sand the patched areas. The aim is to make them completely flush with the rest of the ceiling, so you can't tell where the repairs were made. Be careful not to over-sand, as you could create new dips. After sanding, wipe down the entire ceiling with a damp cloth to remove any dust. This is a pretty important step for a good finish, too it's almost.
Finally, with the ceiling smooth and clean, it's time for priming and painting. Apply a good quality primer first. This helps seal the surface and prepares it for the paint, ensuring a consistent finish and good adhesion. Once the primer is dry, you can apply your chosen ceiling paint. You'll likely need two coats of paint to get a nice, even color. Stand back and admire your smooth, fresh new ceiling! It's a pretty satisfying moment after all that work, frankly.
What About Covering how to remove popcorn ceiling Instead?
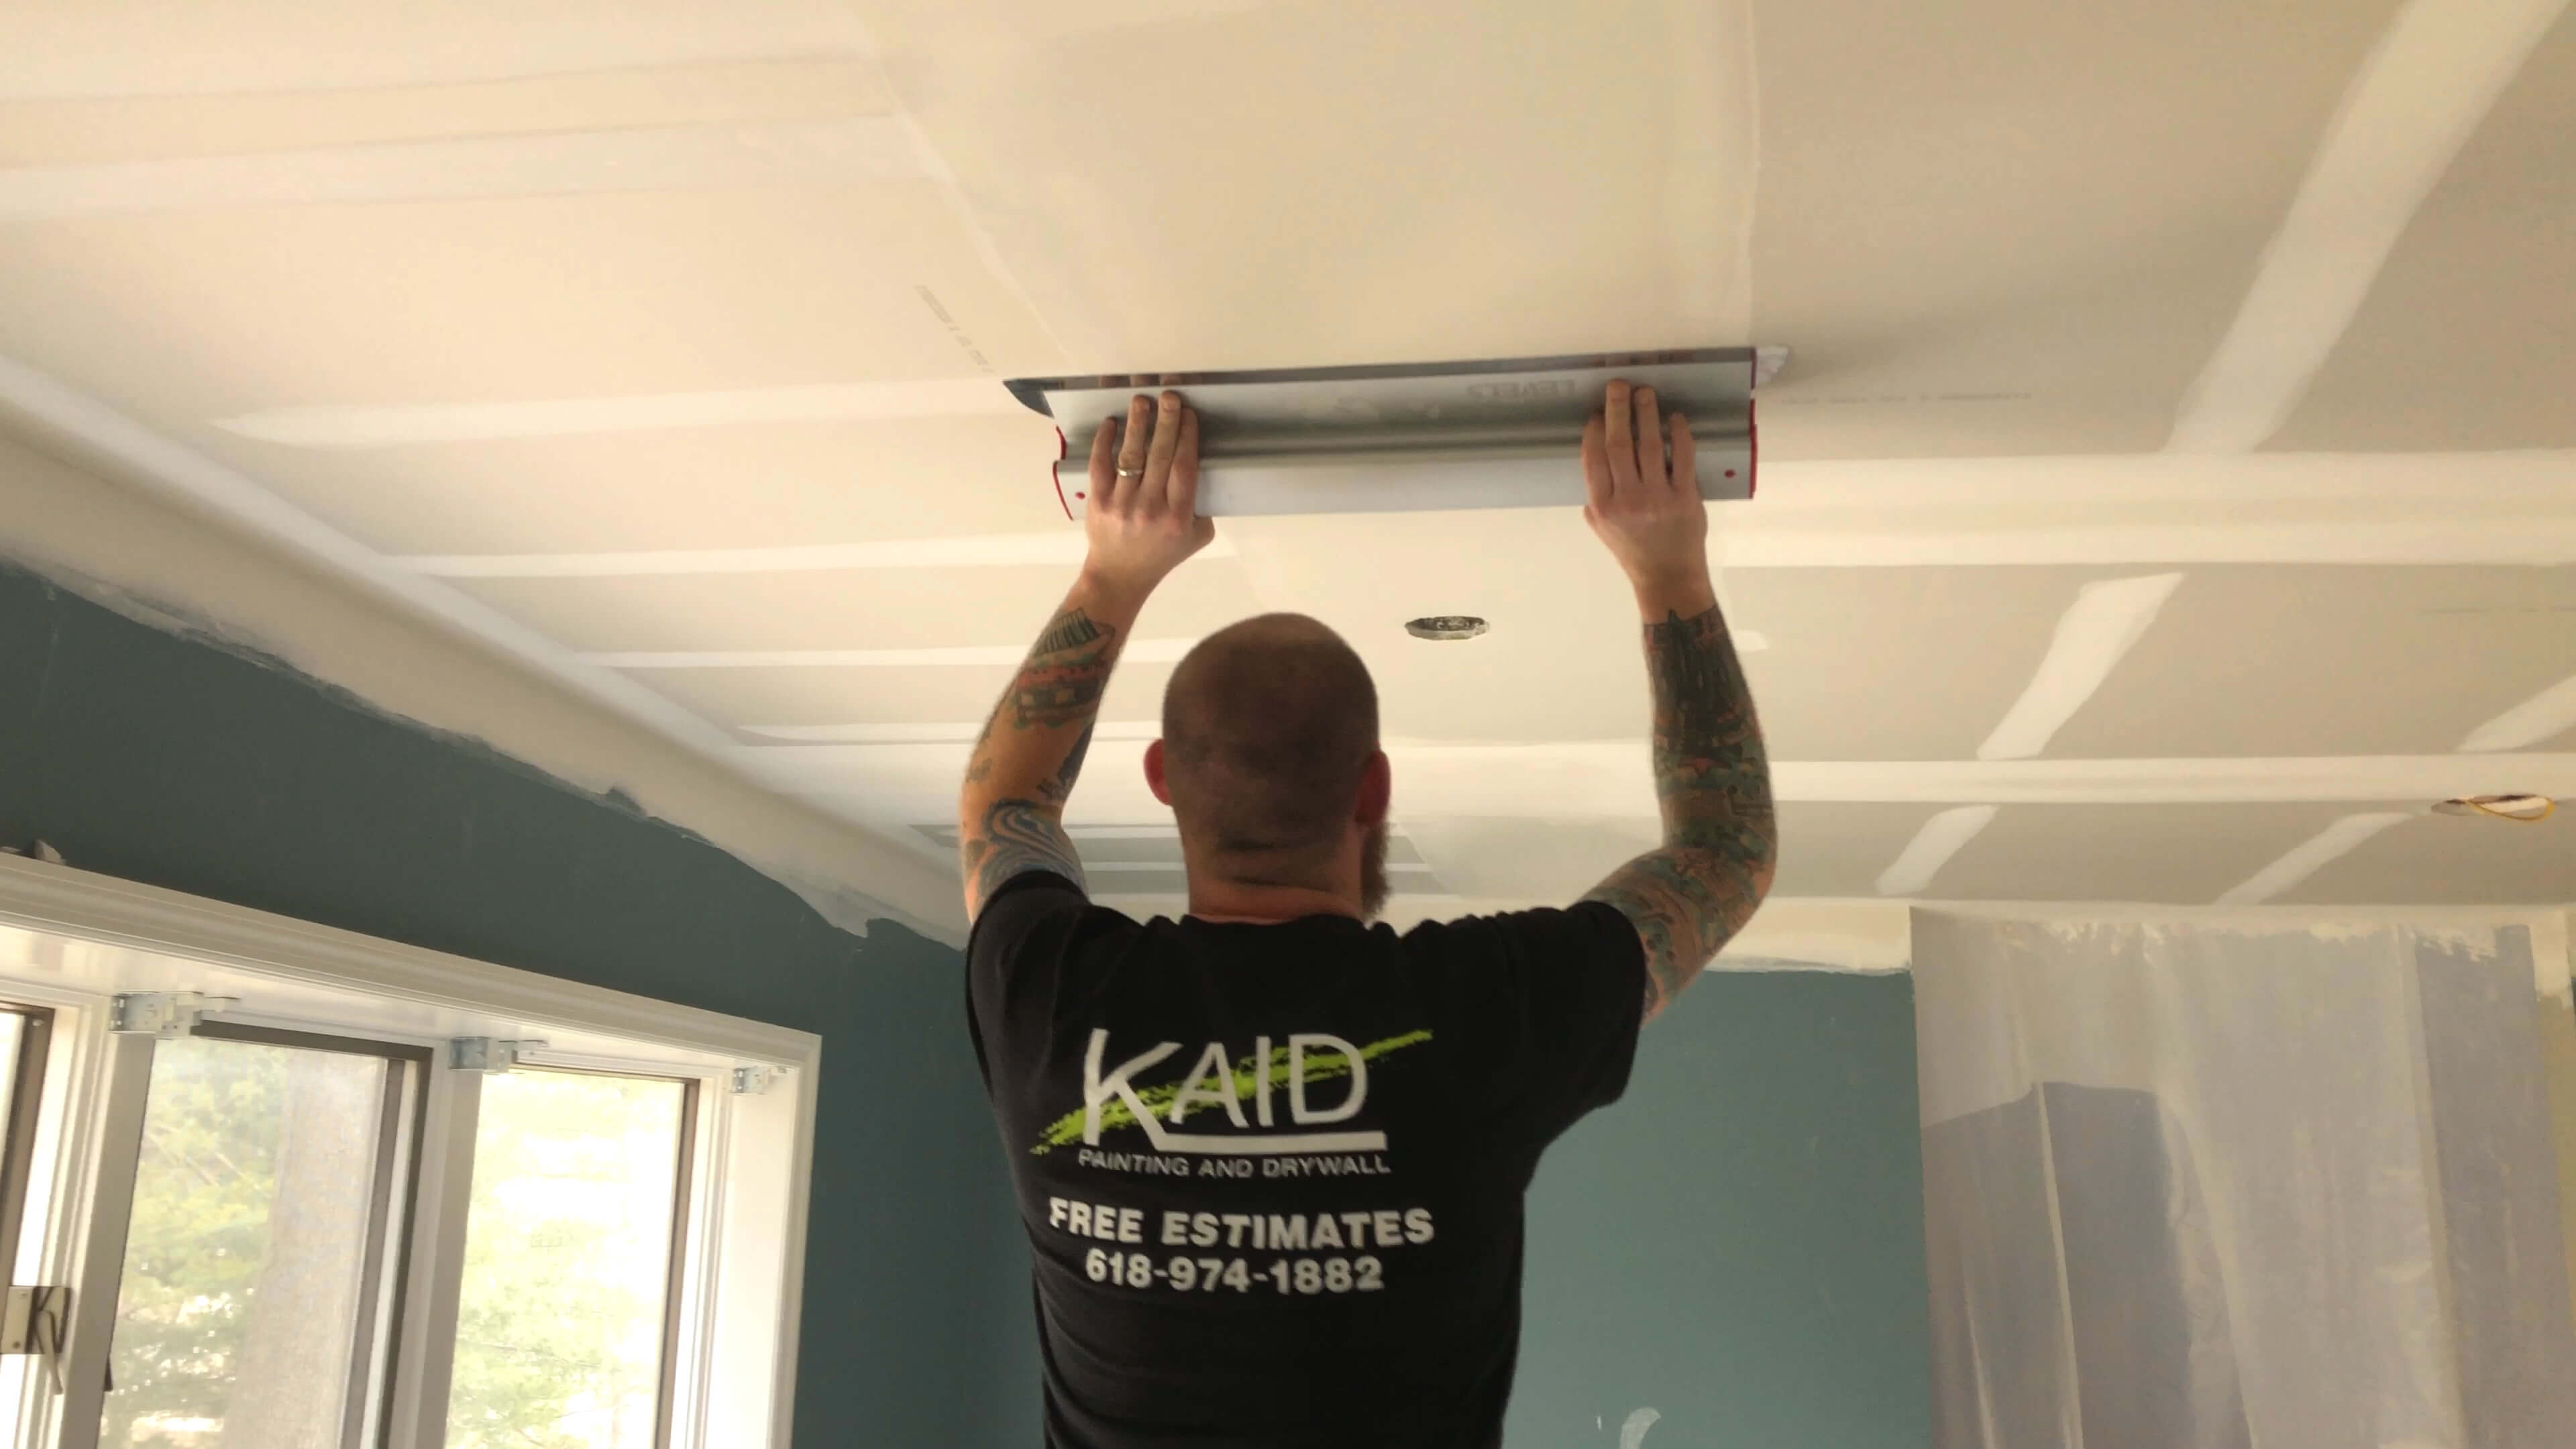
Sometimes, the idea of scraping off a popcorn ceiling just feels like too much, or perhaps you're worried about the asbestos possibility even after testing. In those cases, there are other ways to update a textured ceiling without actually removing it. One popular option is to simply cover it up with new drywall. This involves screwing thin sheets of drywall directly over the existing popcorn ceiling. It creates an instant smooth surface, but it does add a little bit of weight and can slightly lower your ceiling height, which is something to think about, you know.
Another way is to use ceiling panels. These are decorative panels that can be glued or screwed onto the existing ceiling. They come in various styles and materials, from tin-look tiles to more modern, flat designs. This can be a quicker and less messy solution than scraping, and it can also add a unique design element to your room. It's a different kind of update, giving a new surface without all the scraping, in a way.
A technique called "skim coating" is also an option. This involves applying several very thin layers of joint compound directly over the popcorn texture, then smoothing and sanding each layer until you achieve a flat surface. This can be quite labor-intensive and requires a bit of skill to get a truly smooth finish, but it avoids the mess of scraping and doesn't add much thickness to the ceiling. It's a way to essentially bury the texture under new material, you know.
Each of these approaches has its own set of pros and cons, from the amount of work involved to the final look. If you're not ready to take on the scraping project, or if you prefer a different kind of ceiling makeover, these covering methods offer good alternatives. It's really about finding the solution that fits your comfort level and your home's needs best, that's for sure.
Keeping Things Clean After how to remove popcorn ceiling
After all the scraping, patching, and sanding, you'll likely have a good amount of dust and debris. The good news is that if you prepared the room well with drop cloths and plastic sheeting, much of the mess will be contained. Carefully roll up the drop cloths, starting from the edges and working your way in, trapping the dust inside. Place these rolls directly into heavy-duty trash bags. This helps prevent dust from spreading around your now-clean room, which is pretty important, you know.
Use a shop vacuum with a good filter to thoroughly vacuum the entire room, paying special attention to corners, edges, and any areas where dust might have settled. A regular household vacuum might struggle with the fine dust, so a shop vac is generally a better choice for this kind of cleanup. You'll want to get as much of the airborne dust as possible, so take your time with this part, frankly.
After vacuuming, it's a good idea to wipe down all surfaces. Use a damp cloth to wipe down your walls, windowsills, and any remaining furniture. Fine dust can settle everywhere, so a good wipe-down will ensure your room is truly clean and ready for its new look. You might even want to wipe down the ceiling itself before priming, just to make sure there are no lingering dust particles that could affect the paint finish. It's a way to make sure everything

11 Tips on How to Remove Popcorn Ceiling Faster and Easier | Family
How to Remove a Popcorn Ceiling
How to Remove Popcorn Ceilings - LEVEL5 Tools LLC.
