Ghostface Drawing - Create The Iconic Mask
Have you ever felt that pull to sketch something truly recognizable, something that gives you a little chill? For many, that feeling comes when thinking about the famous masked figure from the Scream motion pictures. It’s a face that pops into mind, a shape that has become a symbol of suspense and thrilling fun. Learning how to bring this image to life on paper can be a very satisfying creative pursuit, too it's almost a way to connect with a bit of pop culture history.
There's a particular kind of appeal that comes with drawing characters that are known all over. The Ghostface mask, with its simple yet striking appearance, offers a unique opportunity for artists of all levels. Whether you're just starting out with a pencil in your hand or you've been sketching for quite some time, recreating this memorable visage can be a rewarding activity. It’s a chance to put your own spin on something familiar, and in some respects, make it your own for a moment.
This article will walk you through the process of making your very own rendition of the Ghostface mask. We'll talk about the tools you'll need, how to get started with basic shapes, and then how to add the details that make it so distinct. We'll also touch on different ways to approach your Ghostface drawing, from a more lifelike look to a funnier, cartoon-like version. So, get ready to grab your art supplies; we're about to make some cool art, actually.
Table of Contents
- The Appeal of Ghostface - Why Draw This Icon?
- Getting Ready for Your Ghostface Drawing Adventure
- Starting Your Ghostface Drawing - Simple Shapes First
- Adding Those Scary Details to Your Ghostface Drawing
- Shading and Finishing Your Ghostface Drawing
- Can Anyone Create a Good Ghostface Drawing?
- Exploring Different Ghostface Drawing Styles
The Appeal of Ghostface - Why Draw This Icon?
The character known as Ghostface holds a special spot in the hearts of many movie watchers. It’s not just a mask; it’s a symbol of a particular kind of scary movie fun, the sort that makes you jump but also makes you smile. People often find themselves wanting to draw this figure because it’s so instantly recognizable, and yet, it has a certain simplicity to its design that makes it quite approachable for artists. The way it looks, kind of blank and stretched, lets people put their own feelings onto it, which is rather interesting, you know?
This character has been around for quite a while, appearing in a whole series of films. Each time it shows up, it brings a fresh wave of excitement and a little bit of fright. For those who enjoy art, capturing this character’s appearance on paper can be a personal challenge, a way to show respect for a pop culture giant. It’s also just plain fun to draw something that has such a strong impact, honestly. You get to play with light and dark, with simple lines that create something quite powerful, which is pretty neat.
The mask itself is a piece of art, really. Its flowing, almost mournful lines, and the way it seems to scream silently, make it a compelling subject. When you sit down to do a Ghostface drawing, you’re not just copying a picture; you’re trying to capture a feeling, a sense of quiet terror that has resonated with many people for a long time. It’s a chance to explore how simple shapes can create something so memorable, and that, in a way, is what drawing is all about.
Getting Ready for Your Ghostface Drawing Adventure
Before you even make the first mark on your paper, it’s a good idea to gather up what you’ll need. Think of it like getting your tools ready for any project. Having everything at hand means you won’t have to stop halfway through your Ghostface drawing to go searching for something. This preparation helps you stay focused and keeps your creative flow going without interruptions. It’s a small step, but it makes a big difference, honestly.
You don't need a huge collection of fancy art supplies to make a good picture of Ghostface. The beauty of this particular subject is that its design is fairly simple, relying more on shape and contrast than on a wide range of colors or complex textures. So, don't feel like you need to go out and buy a whole art store. Just a few basic items will do the trick. You might even have most of these things lying around your house already, which is great, you know?
The goal here is to make the process as easy and as enjoyable as possible. When you’re well-prepared, you can just relax and let your hand do the work. This relaxed approach often leads to better results, as you’re not stressing about finding the right pencil or wondering where your eraser went. It’s about setting yourself up for success, basically, so you can truly enjoy the act of making your Ghostface drawing.
Essential Supplies for Your Ghostface Drawing
For your Ghostface drawing, you will mostly need just a few simple items. These are things that most folks who enjoy drawing already possess, or that are easy to get a hold of. We're talking about the very basics, the building blocks of almost any picture you might want to make. It’s quite straightforward, actually.
Pencil: A regular graphite pencil is perfect. You might want one that’s not too dark, like an HB or a 2B, for sketching out your initial shapes. You can always go darker later. Just a standard pencil will do, really.
Eraser: A good eraser is your best friend when you're drawing. Mistakes happen, and that’s perfectly fine! An eraser lets you clean up lines, fix proportions, and even create highlights later on. A kneaded eraser can be especially handy for gently lifting pencil marks without smudging, but a regular rubber one works well, too it's almost the same.
Paper: Any plain drawing paper will work. You don't need anything special for a Ghostface drawing, just something that holds pencil marks well. Sketchbook paper or even a sheet of printer paper is perfectly fine to start with. The most important thing is that you feel comfortable drawing on it, in a way.
Optional: A Ruler or Straight Edge: While the Ghostface mask has some curves, getting the initial outline of the head or the straight lines of the eye holes can be made a little easier with a ruler. This is just an extra helper, not something you absolutely must have, but it could be useful, you know?
Optional: Blending Tool: If you want to add some shading later on, a blending stump, a cotton swab, or even your finger can help smooth out pencil marks and create softer shadows. This is for when you get to the more detailed parts of your Ghostface drawing, apparently.
Starting Your Ghostface Drawing - Simple Shapes First
When you begin any picture, especially something like a Ghostface drawing, it’s always a good idea to start with simple shapes. Think of it like building a house; you don’t start with the tiny details of the windows, but with the main walls and the roof. This approach helps you get the overall size and placement right before you worry about the smaller, more intricate parts. It makes the whole process feel a lot less overwhelming, which is pretty helpful, you know?
The Ghostface mask, despite its scary look, is made up of some very basic forms. If you can get these fundamental shapes down, the rest of the picture will fall into place much more easily. This method is especially good for those who are just learning to draw, as it breaks a seemingly complex image into manageable pieces. It’s about building confidence with each step, actually, and seeing your picture come together bit by bit.
Don't press too hard with your pencil at this stage. Use light, feathery lines that you can easily erase if you need to make changes. These initial lines are just guides, a kind of framework for what's to come. You're not aiming for perfection right away, just getting the general idea onto the paper. This initial sketch is really just a loose idea of your Ghostface drawing, a rough outline, if you will, but it's very important.
How Do We Begin a Ghostface Drawing with Basic Forms?
To kick off your Ghostface drawing, we'll start with the largest, most basic shape of the mask. This is usually a somewhat elongated oval or a rounded rectangle for the main head part. Think about how the mask sits on a person’s head; it’s not perfectly round, but rather has a bit of a longer look to it. This initial shape will set the stage for everything else, so take your time to get it right, in a way.
Once you have that main head shape, you can then add some simple lines for the eye holes and the mouth. For the eyes, they are typically somewhat triangular or almond-shaped, pointing slightly downwards. The mouth is a long, wavy line that stretches across the lower part of the mask, creating that famous silent scream. These lines should still be light, just placeholders, you know, for where the features will eventually go. It’s like mapping out the face, essentially.
Consider the overall balance of your Ghostface drawing at this point. Are the eyes roughly in the middle of the upper half? Is the mouth centered below them? Even with simple shapes, paying attention to these general placements will make a big difference in the final look of your picture. It’s about getting the proportions feeling right, which is quite important for any face you draw, really, even a masked one.
Adding Those Scary Details to Your Ghostface Drawing
After you have the basic forms in place, it’s time to start adding the smaller, more specific parts that make the Ghostface mask so distinct. This is where your Ghostface drawing really starts to take on its familiar appearance. These details are what give the mask its character, its sense of dread, and its unique visual appeal. It’s like putting the finishing touches on a sculpture, giving it that special something, apparently.
You'll want to refine the edges of the mask, making them a little sharper and more defined. The mask has a certain flow to it, a way the fabric seems to hang and ripple, even though it’s a hard plastic form. Try to capture that sense of movement, especially around the bottom edge where it might look like it’s fluttering in a breeze. This adds a lot of life to your Ghostface drawing, giving it a bit of a dynamic feel, you know?
Pay close attention to the way the eye holes and mouth are shaped. They aren't just simple cutouts; they have specific curves and points that contribute to the mask's overall expression. The eyes, for example, have a sharp, almost accusatory look, while the mouth is a wide, distorted scream. Getting these particular forms correct is very important for making your Ghostface drawing instantly recognizable. It's in these small parts that the true essence of the mask resides, honestly.
What Makes a Ghostface Drawing Look Just Right?
To make your Ghostface drawing look truly authentic, it’s all about capturing the particular feeling of the mask. It’s not just about drawing lines; it’s about conveying the eerie silence and the stretched, almost melting look of the face. The mask has a certain blankness to it, but also a hint of something unsettling. This comes from the way the features are slightly exaggerated and distorted, which is pretty interesting.
One key element is the way the shadows fall on the mask. Because it’s often seen in dim light, the shadows play a big role in defining its shape and adding to its creepy vibe. Think about where light would hit it and where it would recede into darkness. This contrast between light and shadow is what gives the Ghostface mask its depth and its somewhat haunting quality. It’s a very important part of making your Ghostface drawing look right, actually.
Also, consider the texture. While the mask is smooth, the way light reflects off it can suggest different surfaces. Sometimes it looks like a hard plastic, other times almost like a thin, stretched cloth. You can hint at this by how you apply your shading and how sharp or soft you make your lines. These subtle touches can really make your Ghostface drawing stand out and give it a more finished appearance, so, in some respects, paying attention to these small things matters a lot.
Shading and Finishing Your Ghostface Drawing
Once you have all the lines and details in place for your Ghostface drawing, it’s time to add depth and mood through shading. Shading is what turns a flat outline into something that looks like it has form and weight. It’s how you make the mask appear three-dimensional and truly come alive on your paper. This step can be very satisfying, as you see your picture gain a whole new level of realism, which is pretty cool, you know?
Start with the darkest areas first. The eye holes and the inside of the mouth are typically very dark, almost black, on the actual mask. Fill these areas in with a consistent, dark tone. This immediately creates a strong contrast and makes the mask’s features pop out. Don't be afraid to go really dark here; it’s what gives Ghostface its dramatic look, honestly. You want those dark spots to feel like deep voids, basically.
Then, begin to build up lighter shadows on the curved surfaces of the mask. Think about where light would naturally fall on a rounded object. The parts that are facing away from the light source will be darker, while the parts facing towards it will be lighter. Use gentle, layered strokes with your pencil to create smooth transitions between these tones. You can use your blending tool or even your finger to soften these areas, creating a nice, gradual shift from light to dark on your Ghostface drawing. This gives it a more polished feel, in a way.
Can Anyone Create a Good Ghostface Drawing?
Absolutely! The beauty of a Ghostface drawing is that it's quite forgiving for artists of all skill levels. Whether you've been drawing for years or you're just picking up a pencil for the first time, you can definitely make a good rendition of this iconic mask. The simple shapes and clear contrasts make it an excellent subject for practicing your drawing skills without feeling too intimidated. It’s a very approachable subject, actually, and that’s part of its widespread appeal, you know?
Many people find that drawing characters they love, like Ghostface, is a great way to stay motivated and keep practicing. When you're interested in what you're drawing, the process feels less like work and more like fun. This enjoyment helps you stick with it, even if you make a few missteps along the way. Remember, every artist, no matter how skilled, started somewhere, and everyone makes pictures that aren't quite perfect sometimes, too it's almost a given.
The most important thing is to just give it a try. Don't worry about making a masterpiece on your first go. The goal is to enjoy the creative process and to learn something new with each Ghostface drawing you attempt. Each time you put pencil to paper, you're building your skills, and that’s what truly matters. It’s about the personal growth and the satisfaction of bringing an idea to life, which is pretty rewarding, really.
Tips for Improving Your Ghostface Drawing Skills
If you're looking to make your Ghostface drawing even better, there are a few simple things you can keep in mind. These tips aren't just for drawing Ghostface; they're good general drawing habits that can help you with any subject you choose to sketch. They are about building a solid foundation and paying attention to the small things that add up to a big difference in your artwork, apparently.
Look Closely at References: Before you start, spend some time really looking at pictures of the Ghostface mask. Notice the subtle curves, the way the eyes tilt, and the exact shape of the mouth. The more you observe, the more details you’ll pick up, and the more accurate your Ghostface drawing will become. It’s about training your eye to see, which is a very important skill.
Practice Basic Shapes: Before you even try to draw the mask, practice drawing ovals, triangles, and wavy lines. Being comfortable with these basic forms will make it much easier when you combine them to create the mask. It’s like warming up before a sport, basically, getting your hand ready for the main event.
Draw Lightly First: We talked about this before, but it bears repeating. Start with very light lines for your initial sketch. This way, if you need to make changes, they’re easy to erase without leaving messy marks on your paper. You can always darken your lines once you’re happy with the overall shape and placement, you know?
Don't Be Afraid to Erase: Your eraser is a tool, not a sign of failure. Use it freely to correct mistakes, refine shapes, and even to create highlights in your shading. It’s part of the drawing process, and pretty much every artist uses their eraser a lot, actually.
Experiment with Shading: Try different ways of adding shadows. Use cross-hatching, stippling,

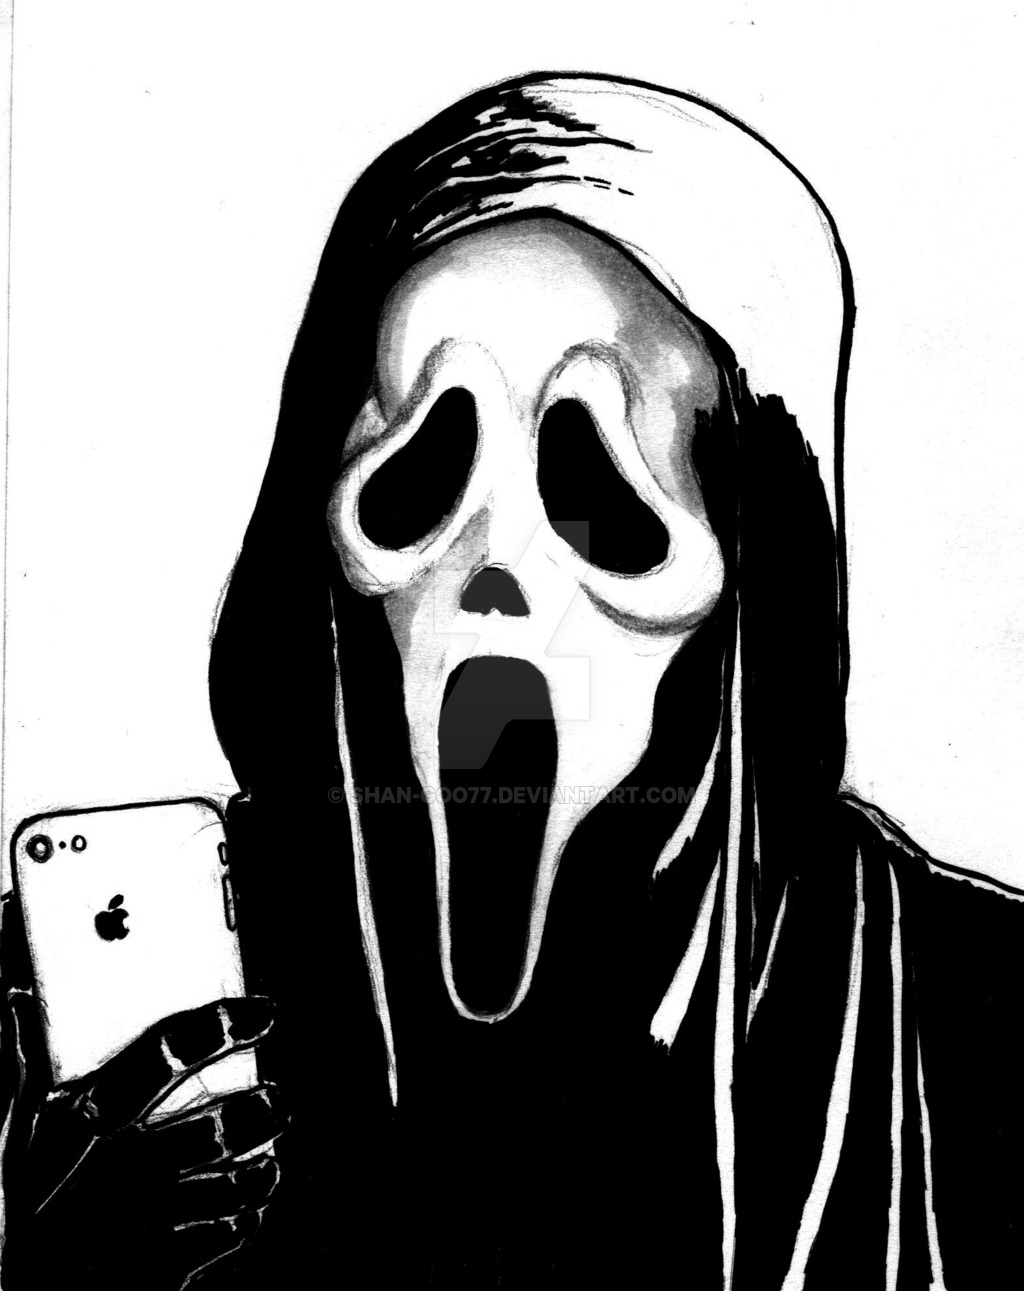
Scream Ghostface Drawing
Ghostface Drawing
Ghost Face Drawing at PaintingValley.com | Explore collection of Ghost
