How To Make Stickers
How to Make Stickers - Your Creative Guide
Do you ever get that little spark of an idea, a drawing, or a fun phrase you wish you could stick just about anywhere? Well, you are in luck because turning those thoughts into real, peel-and-stick creations is simpler than you might think. We are talking about making your own stickers, right from where you are, using things you probably already have or can get without much fuss. This means you can add a personal touch to your belongings, share little bits of cheer with friends, or simply enjoy a fun, hands-on activity.
There are, you see, a few different ways to approach this creative project, whether you like to draw by hand, prefer to use a computer, or even if you are just starting out with crafts. Some methods ask for very little in the way of special items, letting you get started with things like everyday tape or a bit of homemade sticky stuff. Others might call for a specific kind of paper, but even then, it is all pretty straightforward to get going. This whole process is, in some respects, a neat way to bring your unique designs to life and put them out into the world, one sticker at a time.
This helpful set of instructions will walk you through a bunch of ways to create your very own stickers. We will look at options that do not need a printer, those that use a printer, and even some clever tricks with common household items. So, if you have ever wanted to make something truly yours and stick it on your water bottle, laptop, or anywhere else that needs a little extra character, you are definitely in the right spot. We will go over everything you might want to know, from picking out your supplies to getting your designs ready and even how to cut them out neatly, too.
Table of Contents
- What Simple Ways Can You Make Stickers at Home?
- How to Make Stickers Without a Printer?
- Want to Print Your Own Stickers at Home?
- Exploring Different Materials for How to Make Stickers
- Can You Make Stickers Without a Fancy Machine?
- Designing and Finishing Your Homemade How to Make Stickers
What Simple Ways Can You Make Stickers at Home?
Making your own little decorative pieces can be a really fun activity, and it turns out there are a few straightforward ways to get started, even if you are just using things you have around the house. These methods are pretty much about finding a way to make your drawings or designs stick to surfaces, and you do not need much to begin. It is a good starting point for anyone who likes to create things with their hands, and it can be quite satisfying to see your ideas become something tangible, you know?
Making Stickers with Basic Supplies
One way to create your own sticky art involves whipping up a batch of homemade glue. This is a classic method that many people have used for ages, and it is surprisingly effective for paper-based items. You will typically need a few common kitchen items, like flour and water, to mix together. The idea is to make a paste that, once it dries, will hold your paper designs firmly in place. It is a bit like making a very simple, edible adhesive, in a way. After you have your glue ready, you just put your design on a piece of paper, put some of the glue on the back, and then press it where you want it to go. It is a really low-cost option, and it gives you a lot of freedom with your designs, too it's almost.
The process usually starts with mixing a small amount of flour with cold water until you get a smooth liquid, a bit like thin pancake batter. Then, you gently heat this mixture, stirring all the while, until it thickens up into a gooey paste. Once it cools, it is ready to use. This kind of glue works best on paper or other porous surfaces, and it is a good idea to apply it thinly and evenly to the back of your paper picture. Just be sure to let it dry completely before you expect it to hold well. This method is, you could say, a charming throwback to simpler times of crafting.
Making Stickers Using Packing Tape
Another clever way to make your own sticky items involves using something you probably have lying around from a recent delivery: packing tape. This method is a bit different because it uses the tape itself to create the sticky part, rather than a separate glue. It is a pretty neat trick for making designs that are a little more durable, perhaps even a bit water-resistant, which is quite useful for things you might want to put on a water bottle or a lunchbox. You just need some clear packing tape, some paper for your designs, and a pair of scissors, that is all.
To do this, you first draw or print your design onto regular paper. Then, you put a piece of packing tape over the front of your design, making sure it covers the whole thing and goes a little beyond the edges. You then press down firmly to get rid of any air bubbles. After that, you put another piece of packing tape on the back of your design, lining it up as best you can. This creates a kind of sandwich with your design in the middle. Once that is done, you cut out your design, leaving a small border of tape around the edges. When you are ready to stick it, you just peel off the backing paper, if your tape has one, or simply press the sticky side down. It is, pretty much, a straightforward way to protect your art while making it stick.
Making Stickers with Special Paper
For those who want a more professional-looking result, using actual sticker paper is, frankly, the way to go. This paper comes with an adhesive backing already on it, so all you have to do is put your design on the front, cut it out, and then peel off the back when you are ready to use it. It takes away the need for making your own glue or messing with tape, which can save you a good bit of time and effort. You can find this kind of paper at craft stores, office supply places, or online, and it comes in different finishes like matte or glossy, you know.
When you use sticker paper, the main steps are drawing or printing your design onto the paper's front side. If you are printing, you will want to make sure your printer settings are right for the type of paper you are using, as some sticker papers are made for inkjet printers while others are for laser printers. After your design is on the paper, you simply cut around the shape you want. The neat thing about this paper is that the backing is easy to peel away, which makes putting your stickers onto things a breeze. It is, essentially, the most direct path to making something that looks and feels like a store-bought sticker.
How to Make Stickers Without a Printer?
You might be thinking that making stickers requires a fancy machine to print everything out, but that is actually not the case at all. Plenty of wonderful stickers can be created using just your hands and some simple drawing tools. This is great news for anyone who loves to draw or who does not have a printer at home. It opens up a whole world of creative possibilities where your imagination is the main tool. You can make truly unique pieces this way, giving them a very personal touch that printed ones just cannot quite match, you know?
Hand-Drawn Sticker Creations
Creating hand-drawn stickers means you get to use your artistic skills directly. You start with a blank piece of paper, or perhaps some thin cardstock, and then you draw whatever you like. This could be anything from cute little characters to cool patterns or even just some neat lettering. You can use colored pencils, markers, crayons, or whatever drawing tools you prefer. The idea is to make your design as colorful and interesting as you want it to be. This method, you see, gives you complete control over the look and feel of your finished sticker.
Once your drawing is complete, you will need to add the sticky part. You can use the homemade glue method we talked about earlier, or the packing tape trick. If you use the packing tape, it will also give your hand-drawn art a nice protective layer, which is pretty handy. After applying the sticky back, you simply cut out your design. This is where you can really get creative with the shapes, cutting around the edges of your drawing or making fun, irregular shapes. It is, basically, a very direct and personal way to make your own custom stickers, and it is surprisingly simple to do.
Want to Print Your Own Stickers at Home?
If you have a printer, then a whole other set of options for making stickers opens up. This way, you can use digital designs, photos, or even things you find online (making sure you have permission, of course!). Printing your stickers at home means you can make many copies of the same design, which is great if you want to share them or use them for a bigger project. It also lets you achieve a very clean and precise look that can be harder to get with hand-drawing alone. So, if you are comfortable with a computer and a printer, this might be a good path for you, too.
A Guide to Printing How to Make Stickers
When you decide to print your stickers, the first step is to create your design on a computer. You can use simple programs like Microsoft Word or Google Docs, or more advanced ones like graphic design software. The key is to make sure your design is the right size for the stickers you want to make. Once your design is ready, you will load your sticker paper into your printer. As mentioned before, make sure you have the right type of sticker paper for your printer, whether it is inkjet or laser, otherwise, the ink might smudge or not stick properly, you know?
Before printing a whole sheet, it is often a good idea to do a test print on a regular piece of paper first. This helps you check if the colors look right and if the size and placement of your designs are correct. Once you are happy with the test, you can go ahead and print on your sticker paper. After printing, let the ink dry completely before you touch the sheet too much. Then, you can cut out your stickers. Some sticker papers come with pre-cut shapes, which makes this step super easy, but if not, a good pair of scissors or a craft knife will do the job nicely. It is, pretty much, a straightforward process that yields professional-looking results.
Exploring Different Materials for How to Make Stickers
Beyond the basic paper and tape, there are some pretty interesting and less common materials you can use to make stickers, which can add a unique touch to your creations. These methods might not be the first thing you think of, but they can lead to some really fun and unexpected results. It is all about thinking a little outside the box and seeing what other things can be adapted for sticker making. This can be a good way to use up bits and pieces you have around, or to try something a little different, you know?
Using Google Docs for Sticker Design
You might be surprised to learn that a simple word processing program like Google Docs can actually be used to design stickers. While it is not a dedicated graphic design tool, it has enough features to let you arrange images, add text, and create basic shapes. This is especially handy if you do not have access to more complex software. You can insert pictures, resize them, and even layer them to create interesting compositions. It is, basically, a very accessible tool for getting your ideas down and ready for printing, too it's almost.
To use Google Docs for sticker design, you would open a new document and adjust the page margins to be very small, giving you more space. Then, you can insert images you have saved or even draw simple shapes using the drawing tools. You can add text boxes and change fonts and colors. The trick is to arrange everything on the page so that when you print it, the designs are spaced out well for cutting. Once your designs are laid out, you can print them onto sticker paper or even regular paper to use with the homemade glue or packing tape methods. It is, in some respects, a surprisingly versatile way to get your designs ready.
Adhesive Corkboard Ideas for How to Make Stickers
This is a rather unique idea for making stickers, especially if you are looking for something with a bit more texture or thickness. Adhesive corkboard typically comes in sheets with a sticky back already on them, just like sticker paper. The difference is that it is made of cork, which gives it a natural, earthy feel and a bit of sponginess. This could be great for making decorative pieces that stand out or for adding a rustic touch to your belongings. It is, you could say, a less common but very interesting material to experiment with.
To make stickers from adhesive corkboard, you would simply draw or trace your designs onto the cork side. Because cork is a bit thicker, you might want to keep your designs simpler and bolder. Once your design is on the cork, you cut it out carefully. You might need stronger scissors or a craft knife for this, as cork is tougher than paper. After cutting, you just peel off the backing to reveal the sticky side, and then you can press your cork sticker onto any surface. These types of stickers are really good for adding a unique dimension to scrapbooks, bulletin boards, or even as little decorative pieces on gifts, you know.
Can You Make Stickers Without a Fancy Machine?
Absolutely! The idea that you need an expensive cutting machine or a special sticker printer to create your own sticky art is, honestly, a bit of a myth. Many of the most charming and personal stickers are made with nothing more than a few basic supplies and a good pair of scissors. This is wonderful news for anyone who enjoys simple crafts and wants to get creative without spending a lot of money on equipment. It means that the ability to make something cool is truly in your hands, which is pretty empowering, you know?
Crafting How to Make Stickers by Hand
Making stickers by hand means you are doing all the work yourself, from drawing the design to cutting it out. This method is incredibly flexible and allows for a lot of personal expression. You can draw anything you want, in any style you like, and then cut it out in any shape. There are no limits imposed by machine settings or pre-set templates. This is where your true creativity can shine through, as every sticker you make will be one of a kind. It is, pretty much, a very satisfying way to bring your artistic visions to life, too it's almost.
To start, you will need paper, drawing tools (like pens, markers, or colored pencils), and something to make it sticky, such as homemade glue, double-sided tape, or the packing tape method. Once your design is drawn, you carefully cut it out. You can cut right up to the edge of your drawing for a clean look, or leave a small border around it. Some people like to make their stickers extra special by adding glitter, small bits of fabric, or even a clear protective layer over the top, like clear nail polish, to make them more durable. This hands-on approach is, in some respects, a very rewarding way to create unique items.
Designing and Finishing Your Homemade How to Make Stickers
Once you have picked your method for making stickers, the fun really begins with the design part and then getting them ready for use. A great sticker starts with a good idea, but how you bring that idea to life on paper, and how you prepare it for sticking, makes all the difference. It is about paying a little attention to the details that make your creations look polished and ready to share. There are, you see, a few things you can do to make your stickers look their best, whether you are drawing them or printing them out.
Tips for Sticker Appearance
When it comes to making your stickers look good, clarity and color are key. If you are drawing, use bright, bold colors that stand out. Make sure your lines are clear and easy to see. If you are printing, use high-quality images and make sure your printer ink levels are good so the colors come out vibrant. You might also want to think about the overall shape of your sticker. Simple shapes are often easier to cut out neatly, but more complex shapes can be really eye-catching if you are up for the challenge. It is, basically, about making sure your design is appealing and well-defined, you know.
Another tip for appearance is to think about the background of your design. Sometimes, a plain white background works best to make your main image pop. Other times, a colored background or a pattern can add to the overall look. If you are using packing tape, you might want to consider how the tape's slight gloss affects your colors. For hand-drawn stickers, a clear sealant or a layer of clear tape over the top can protect your drawing from smudges and make it last longer. These small touches can really make a big difference in how professional your homemade stickers appear, too it's almost.
Getting Your Stickers Ready for Use
After you have created your designs and cut them out, the final step is preparing them to be stuck. If you used sticker paper, this is as simple as peeling off the backing. For homemade glue, you will apply a thin, even layer to the back of your sticker just before you want to use it. With the packing tape method, you will have created a double-sided sticker, and you just press the sticky side onto your chosen surface. The main thing is to make sure the adhesive is ready to go and that your sticker is clean and free of dust or debris, which can stop it from sticking well, you know.
For best results, make sure the surface you are sticking your sticker to is clean and dry. Dust or grease can prevent the sticker from adhering properly. Press down firmly on your sticker once you have placed it to ensure good contact. If you have made a batch of stickers, you might want to store them flat in a book or a folder to keep them from bending or getting damaged before you use them. This way, they will be fresh and ready whenever you want to add a little bit of your own creative flair to something. So, you have learned about creating stickers using homemade glue, packing tape, or special sticker paper, as well as making them without a printer, printing them at home, and using different materials like Google Docs or adhesive corkboard, all without needing a fancy machine, along with tips for design and getting them ready to stick.
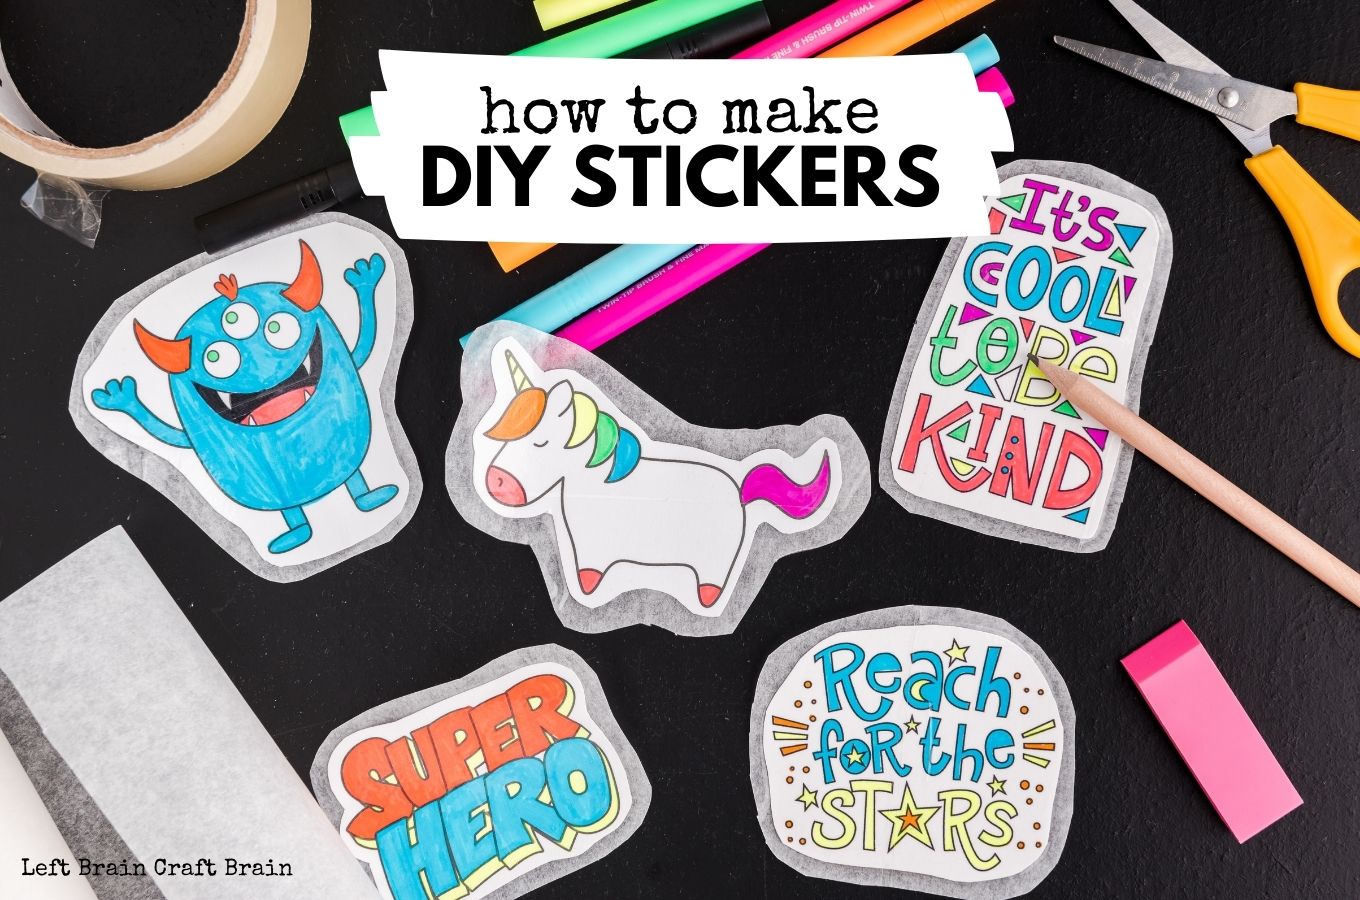
Diy stickers

Easy Crafts To Sell, New Crafts, Diy And Crafts, Paper Crafts, Make

Diy Printable Stickers
